Remove the grille
Unscrew the grille from your SOUNDBOKS 3 using the included hex key. Keep the bolts in a glass or similar container so you don't lose them. There are 14 bolts in total.
Clean the grille
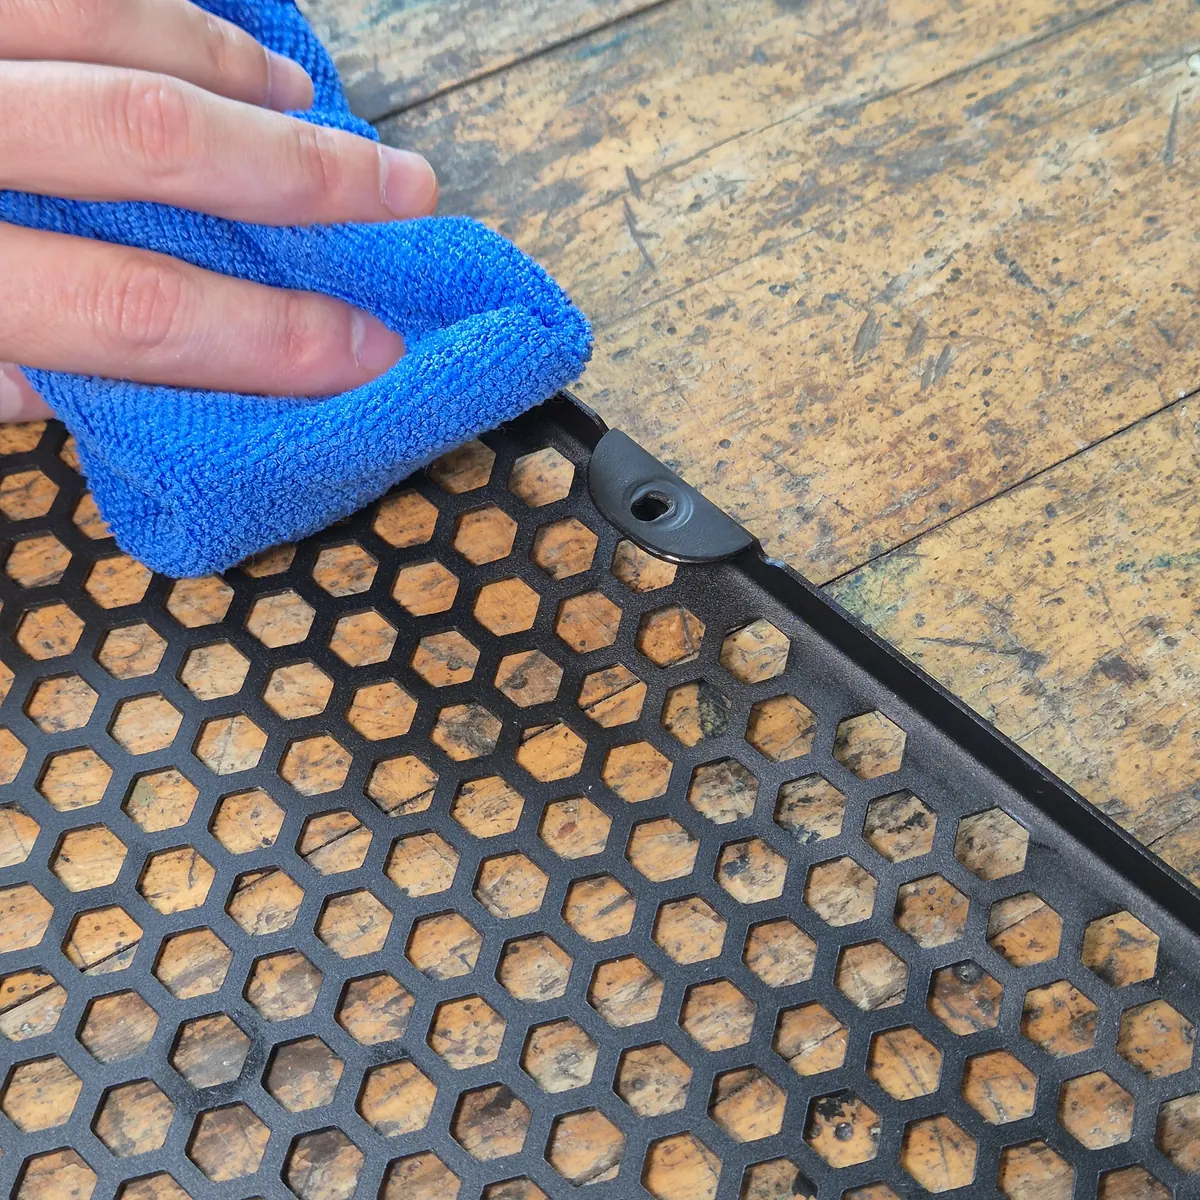
Place the grille face down on a clean surface. Clean the inside of the grille edges with a damp cloth, then dry with a dry cloth.
Unscrew the nuts from the logo
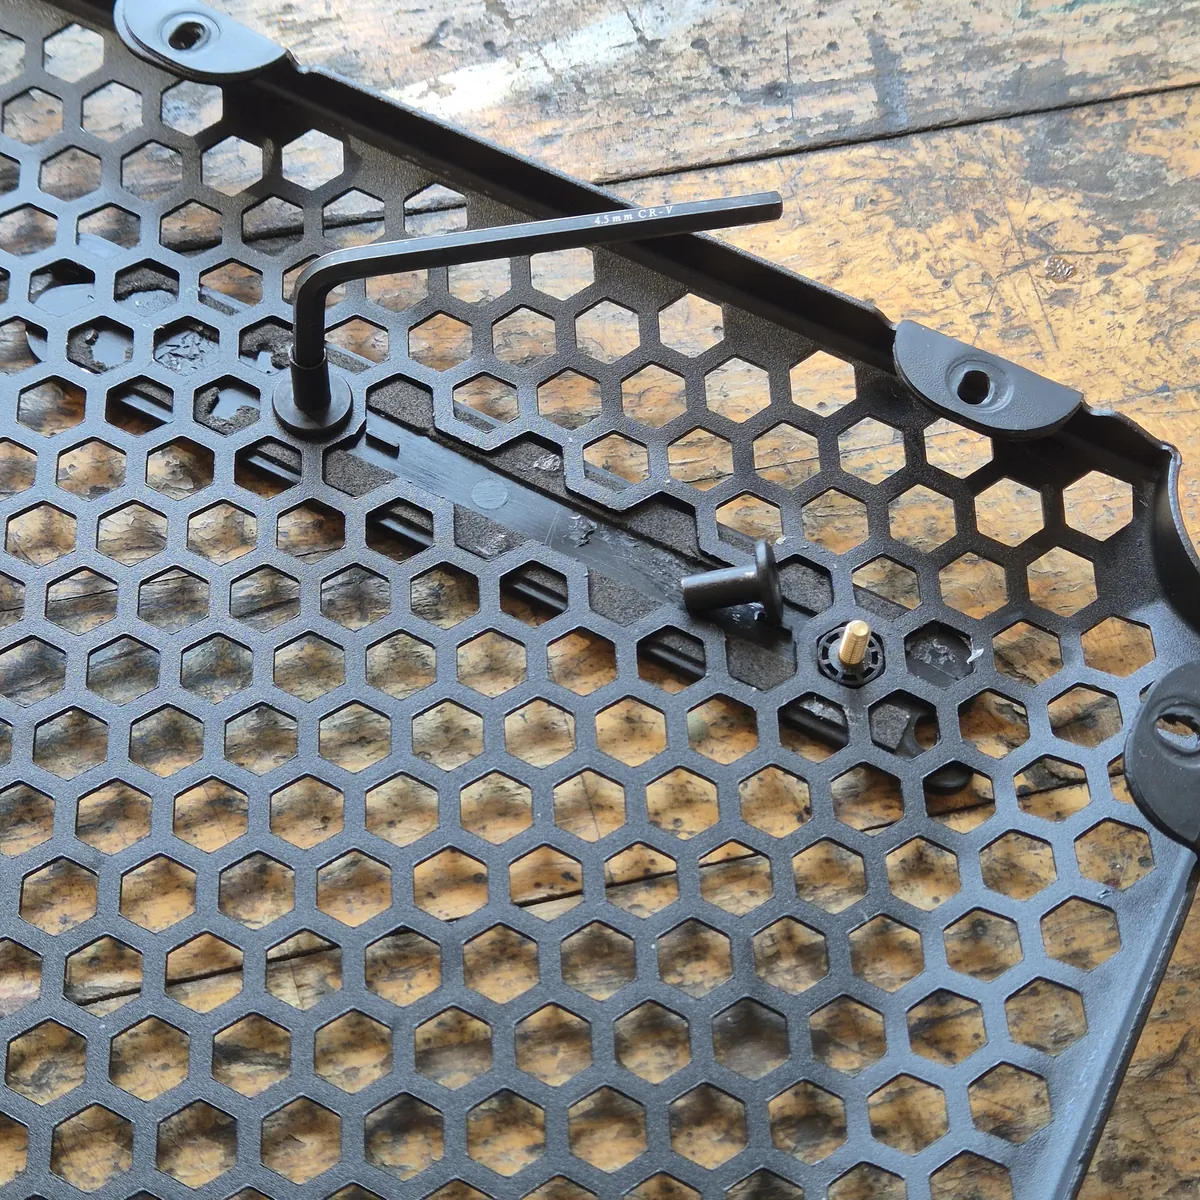
Unscrew the two nuts holding the SOUNDBOKS logo using the included hex key. Keep these nuts.
Mount the controller housing
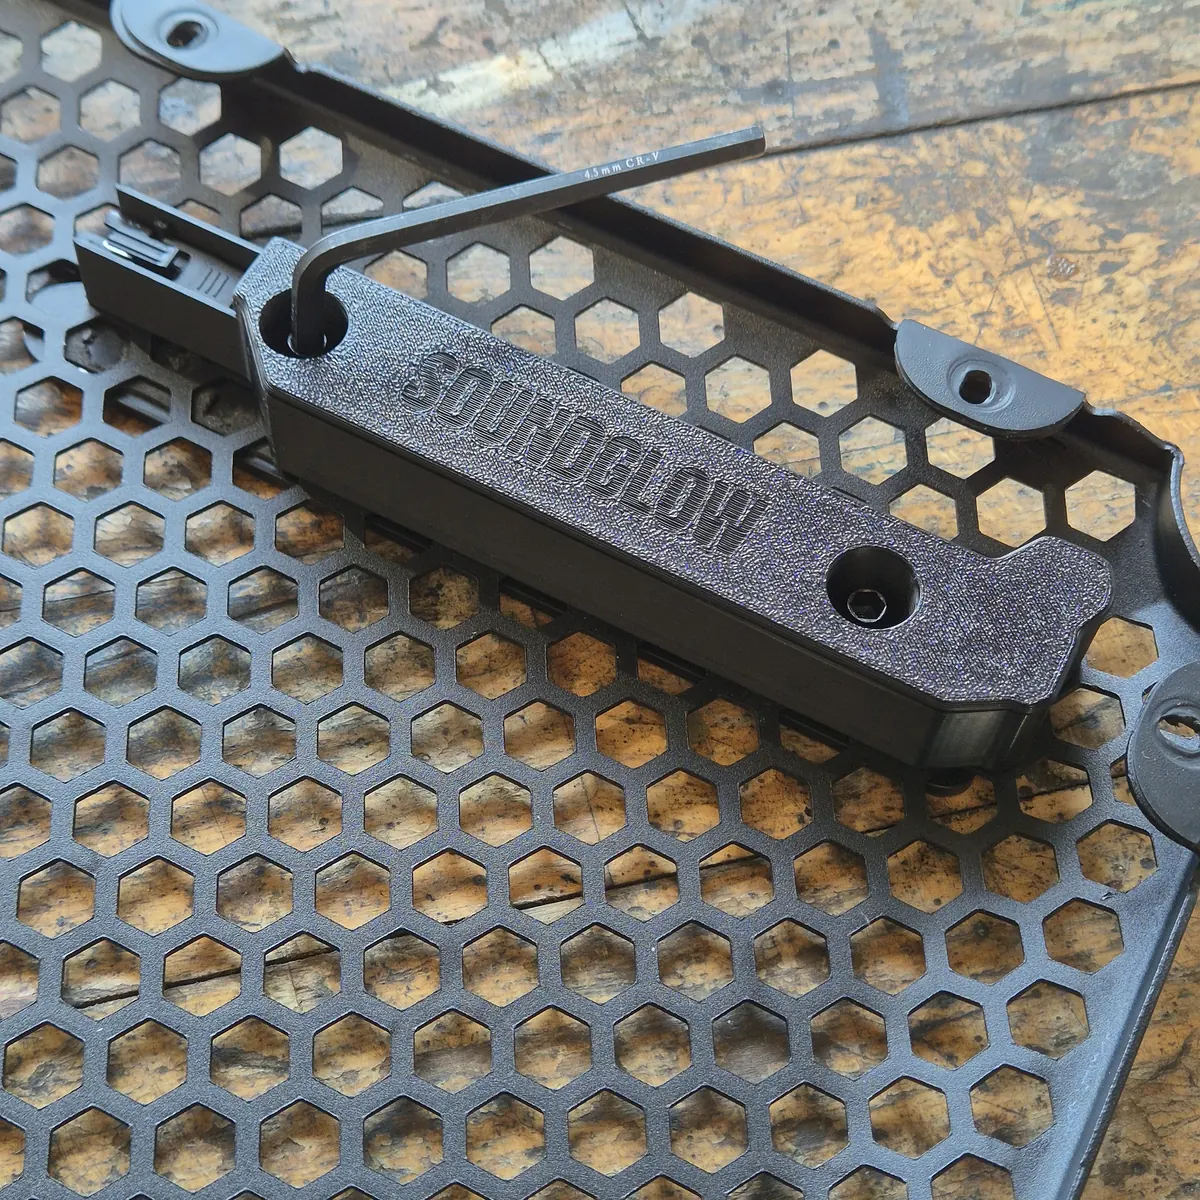
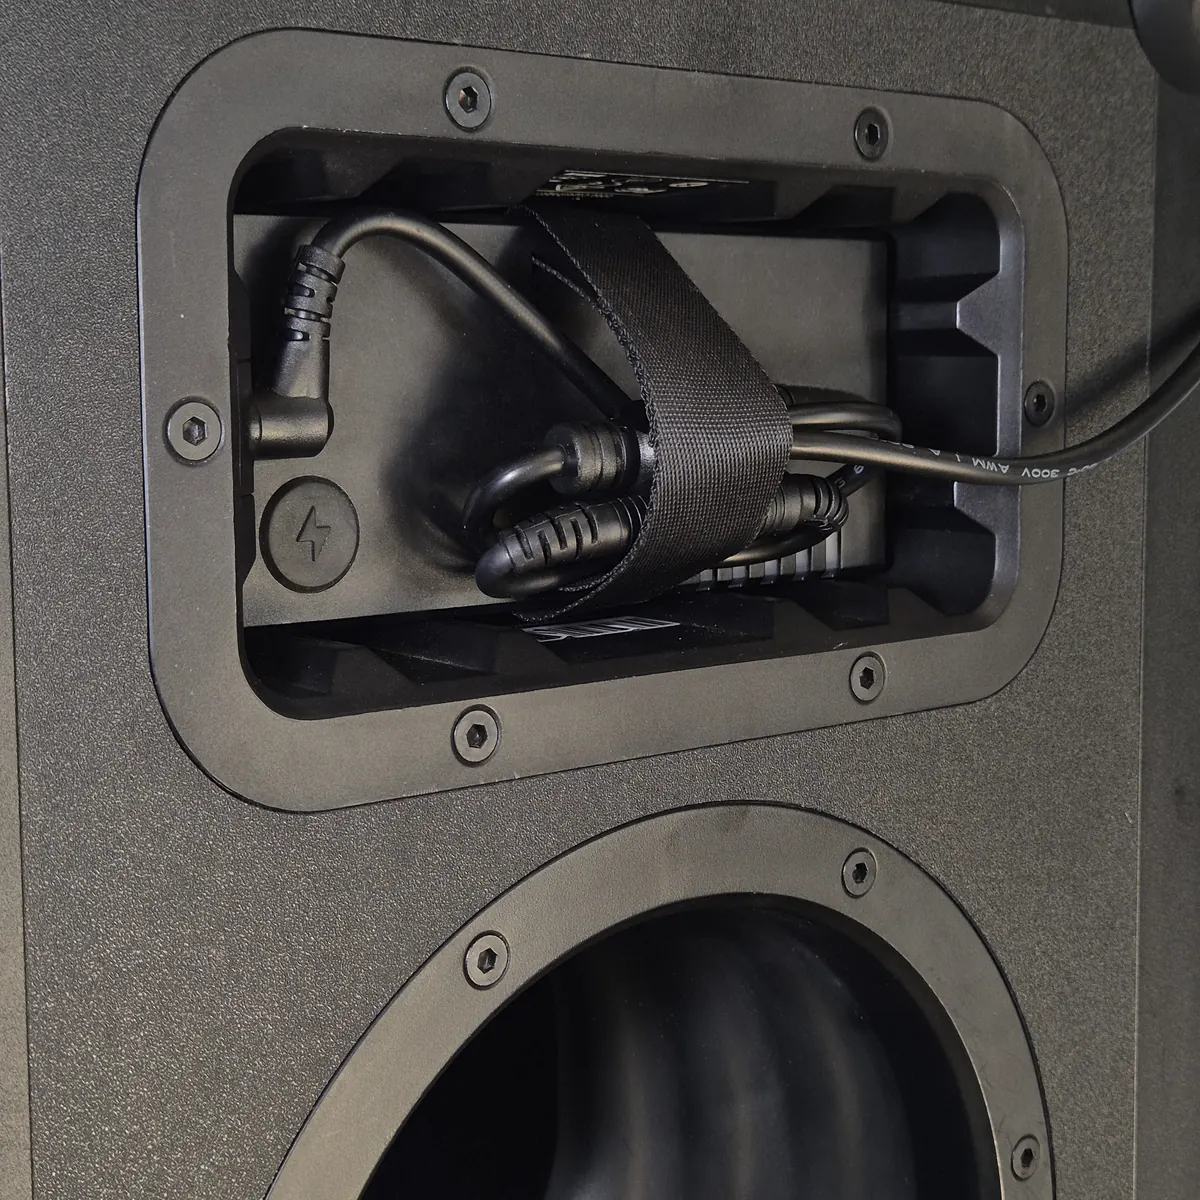
Use the nuts from the logo to mount the controller housing behind the logo. Simply place the housing behind the logo, put the nuts through the two holes and tighten them gently.
Mount the LED strip
Place the LED strip inside the grille with the diodes facing inward toward the center. Start at the controller housing and click the connector in.
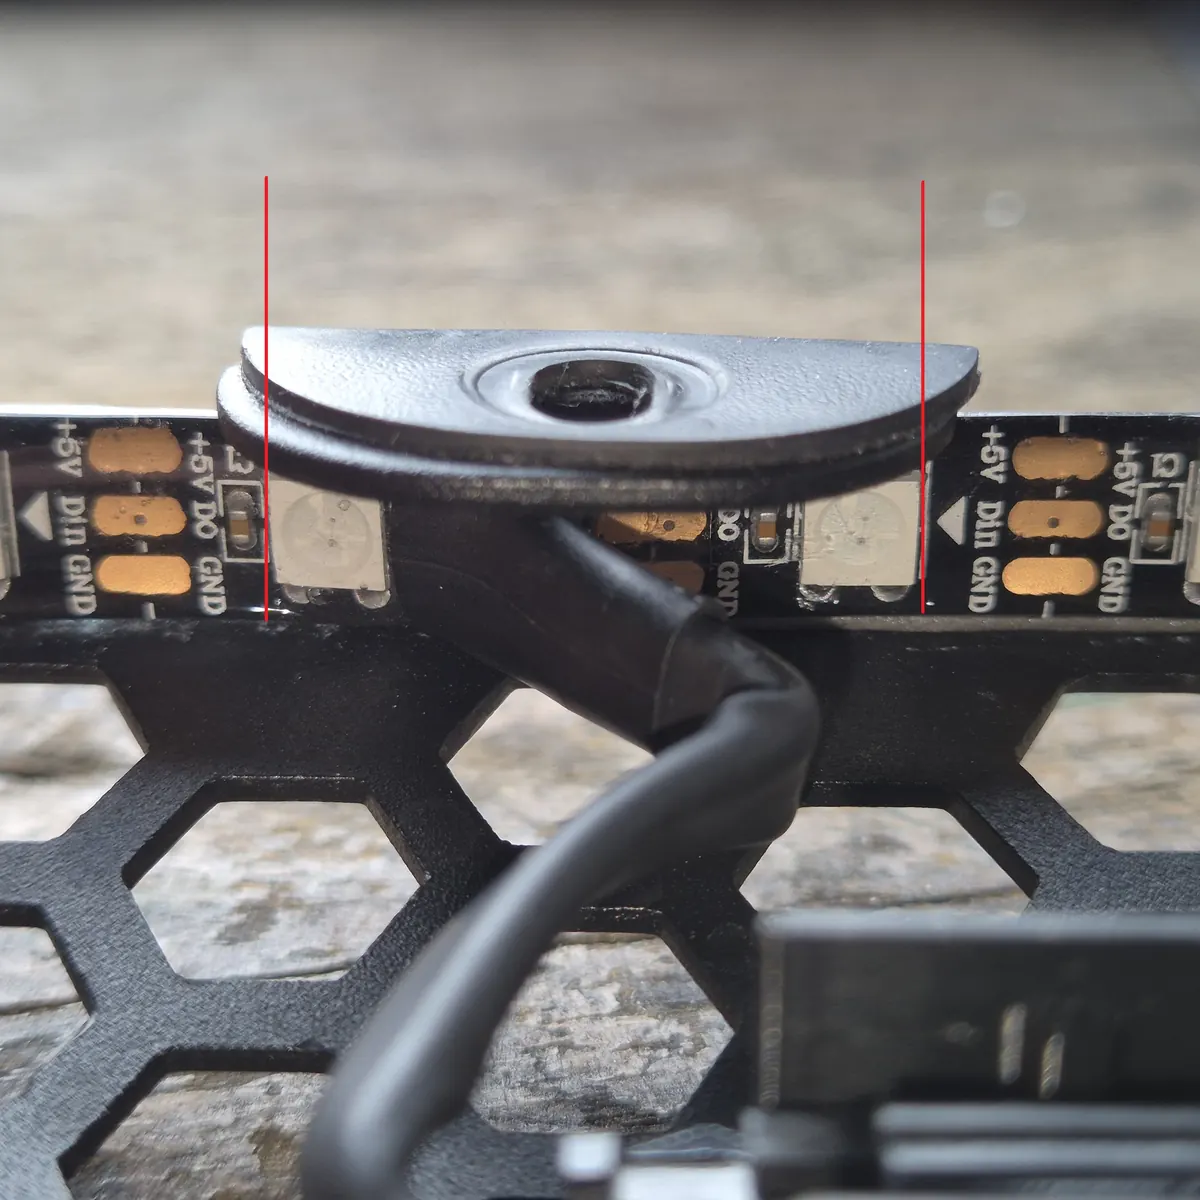
Make sure to center your LED strip and mount it as shown in the photo. It's important that the first and the last LED sit the same distance from the center of the grille — that keeps the light effects symmetrical.
Now start mounting the LED strip: remove only a little of the red protective backing at a time, and press the LED strip firmly against the inner edge of the grille.
Work your way around the grille. Press the LED strip firmly against the grille — several times if needed.
Test the light
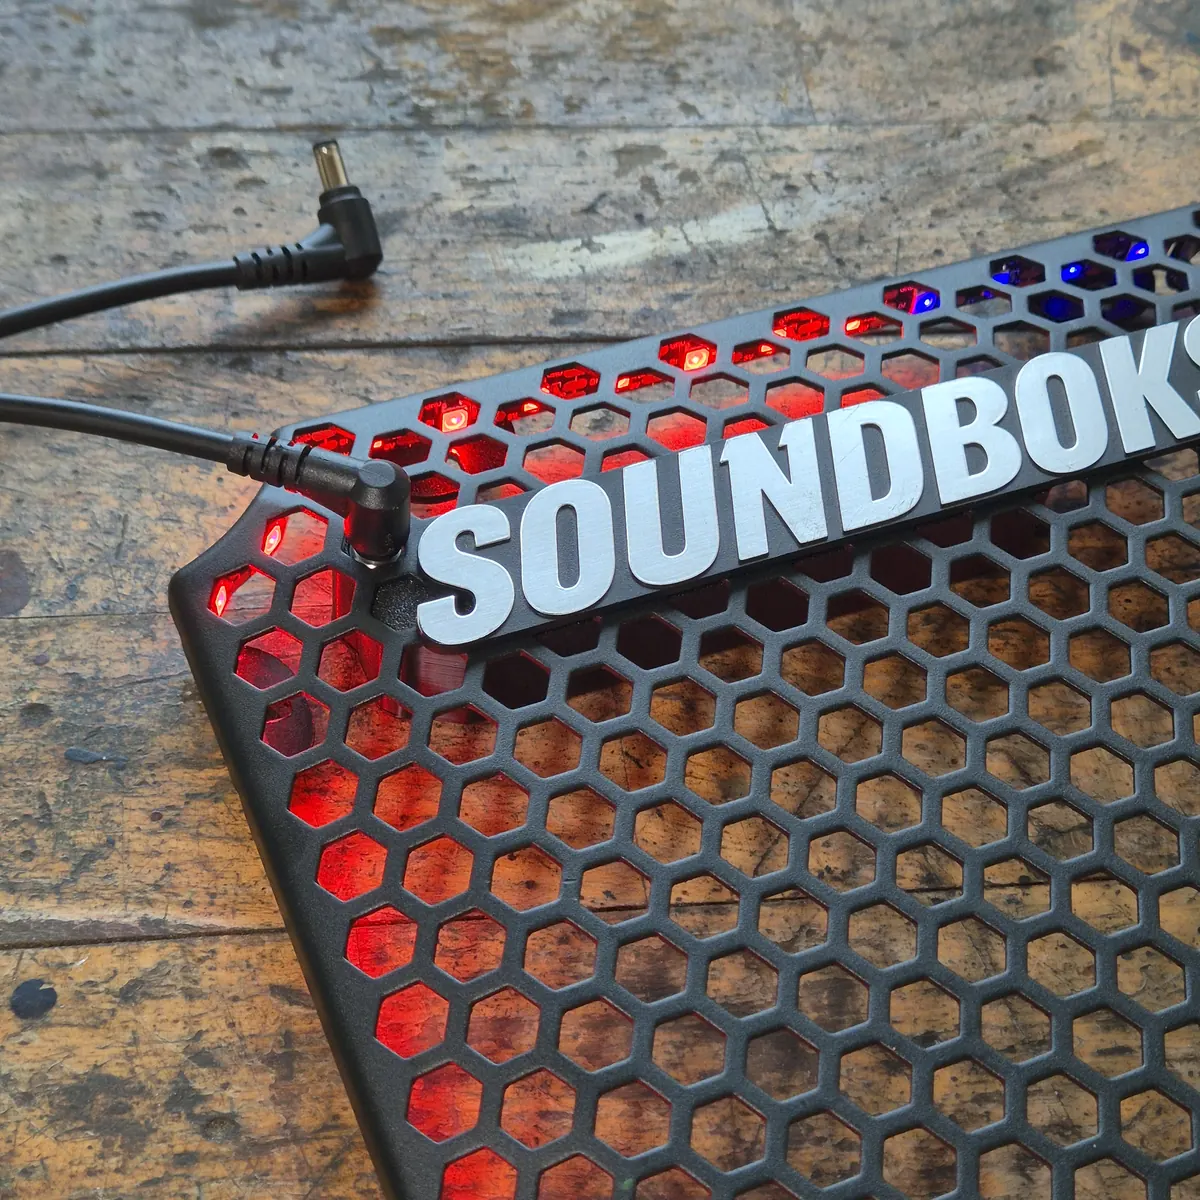
Connect your SOUNDBOKS battery to the included power cable and then to the new power port in the grille. If the LED strip turns on automatically, everything is as it should be.
Reattach the grille and connect the light
Screw the grille back onto your SOUNDBOKS using the original bolts. Tighten firmly but don't overtighten. Connect the power cable to your SOUNDBOKS battery, the speaker and the controller housing.
Download BanLanX App
Congratulations! Your SOUNDBOKS is now upgraded with SOUNDGLOW. 🎉
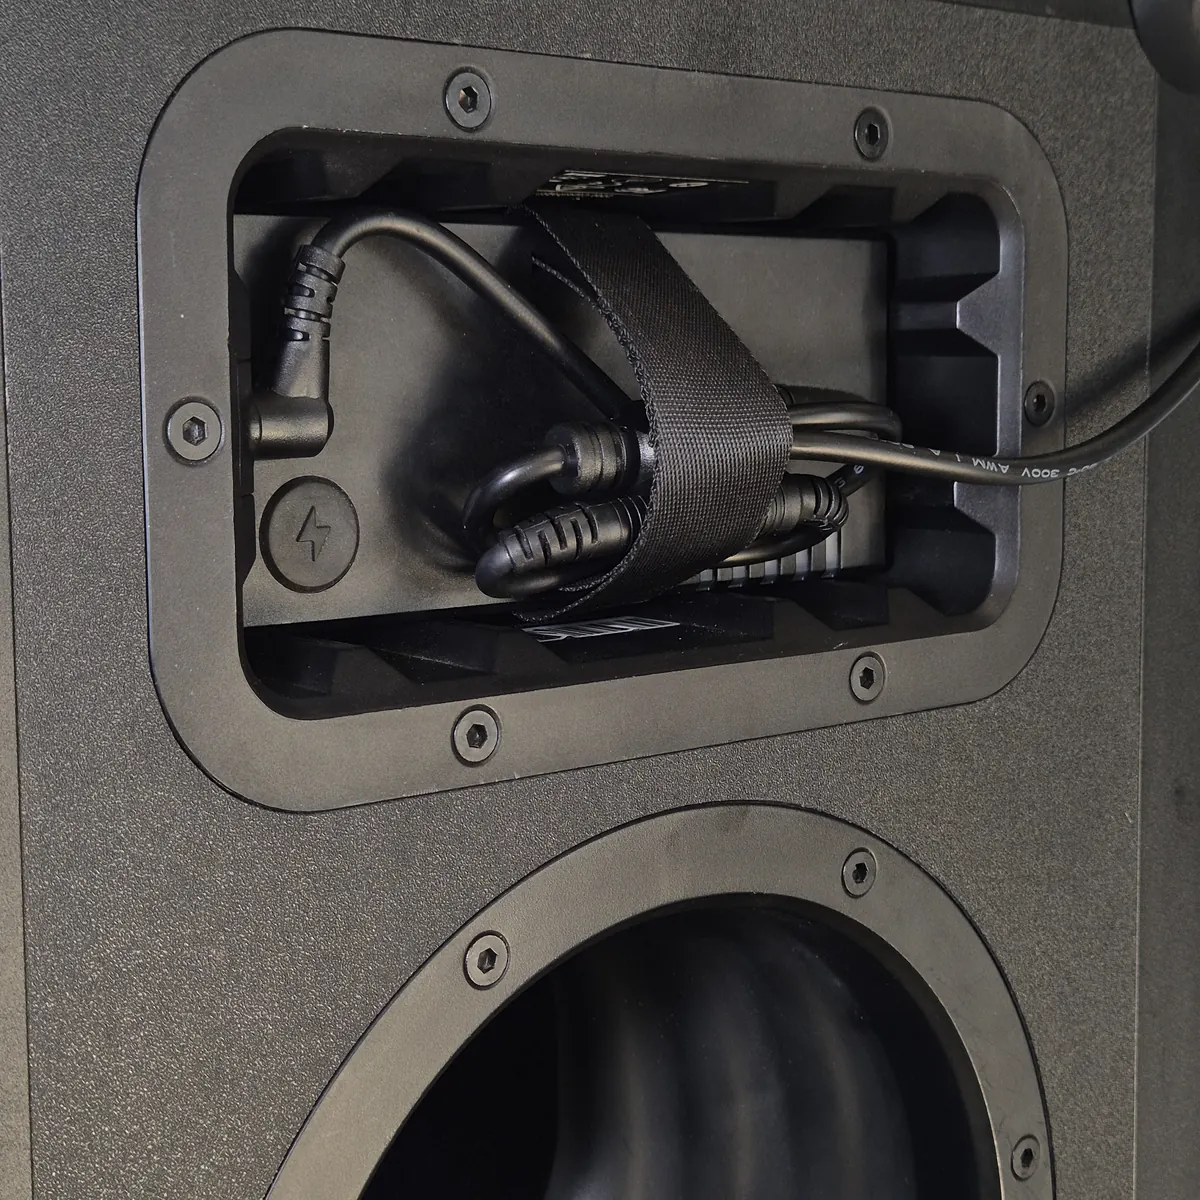
Control your light effects over Bluetooth via the BanLanX app, available for iOS and Android.
Choose from 39 effects, adjust colors and intensity, and let the 8 music-driven effects run the light show automatically.
Enjoy!


Remove the grille
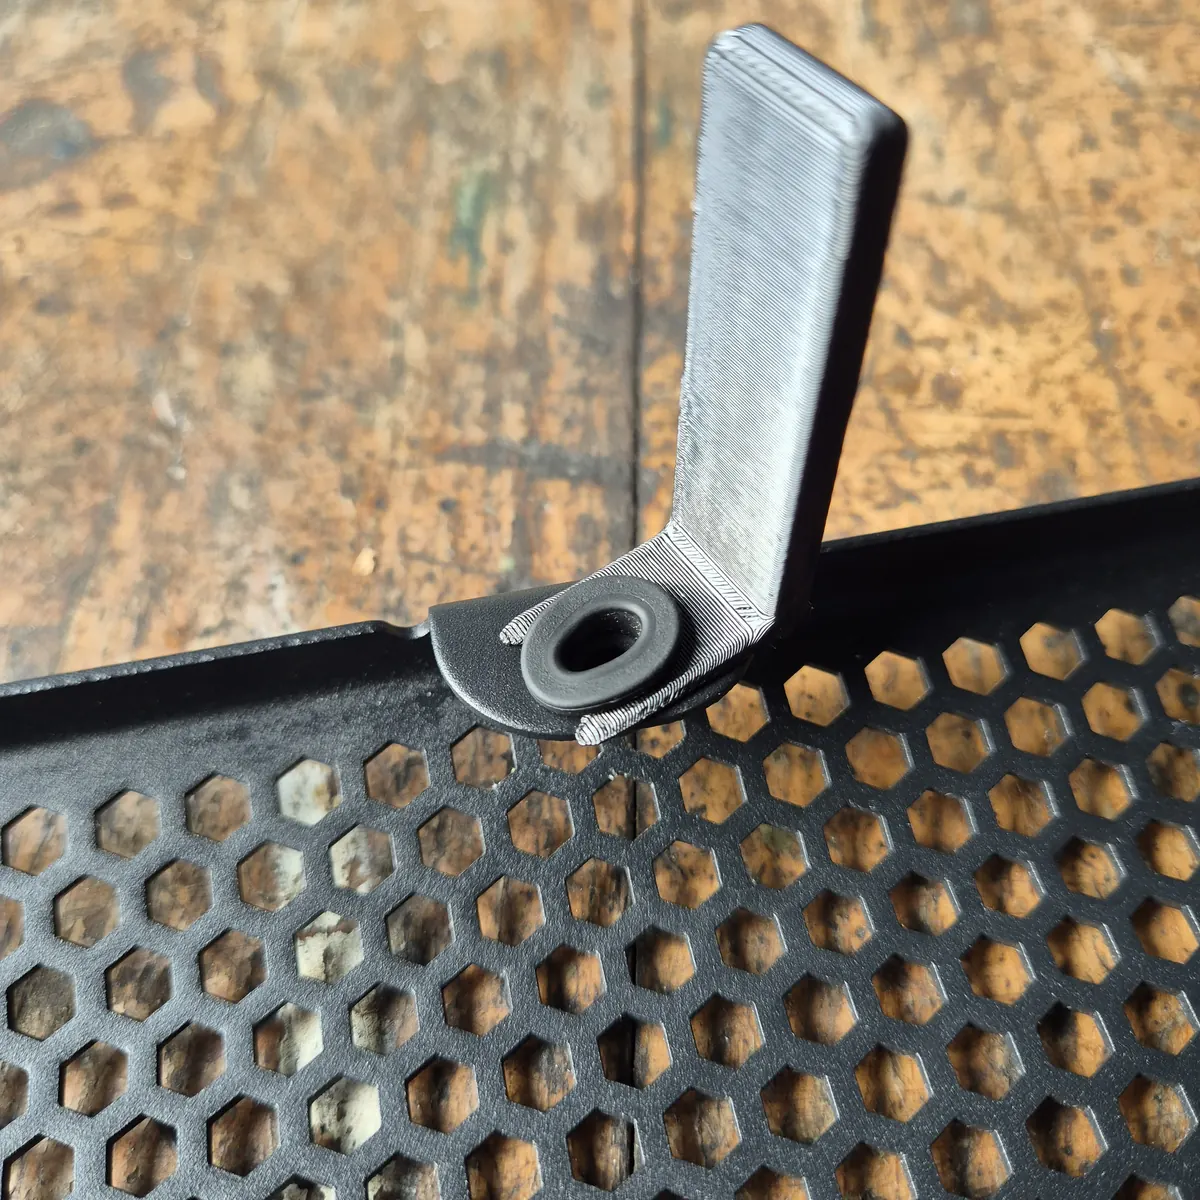
Remove the grille using your 'Grill Removal Tool', included when you bought your SOUNDBOKS 4.
Hook it into the holes in the corners of the grille. Pull gently to loosen the grille, working evenly around
the edges at multiple points until it can be removed by hand.
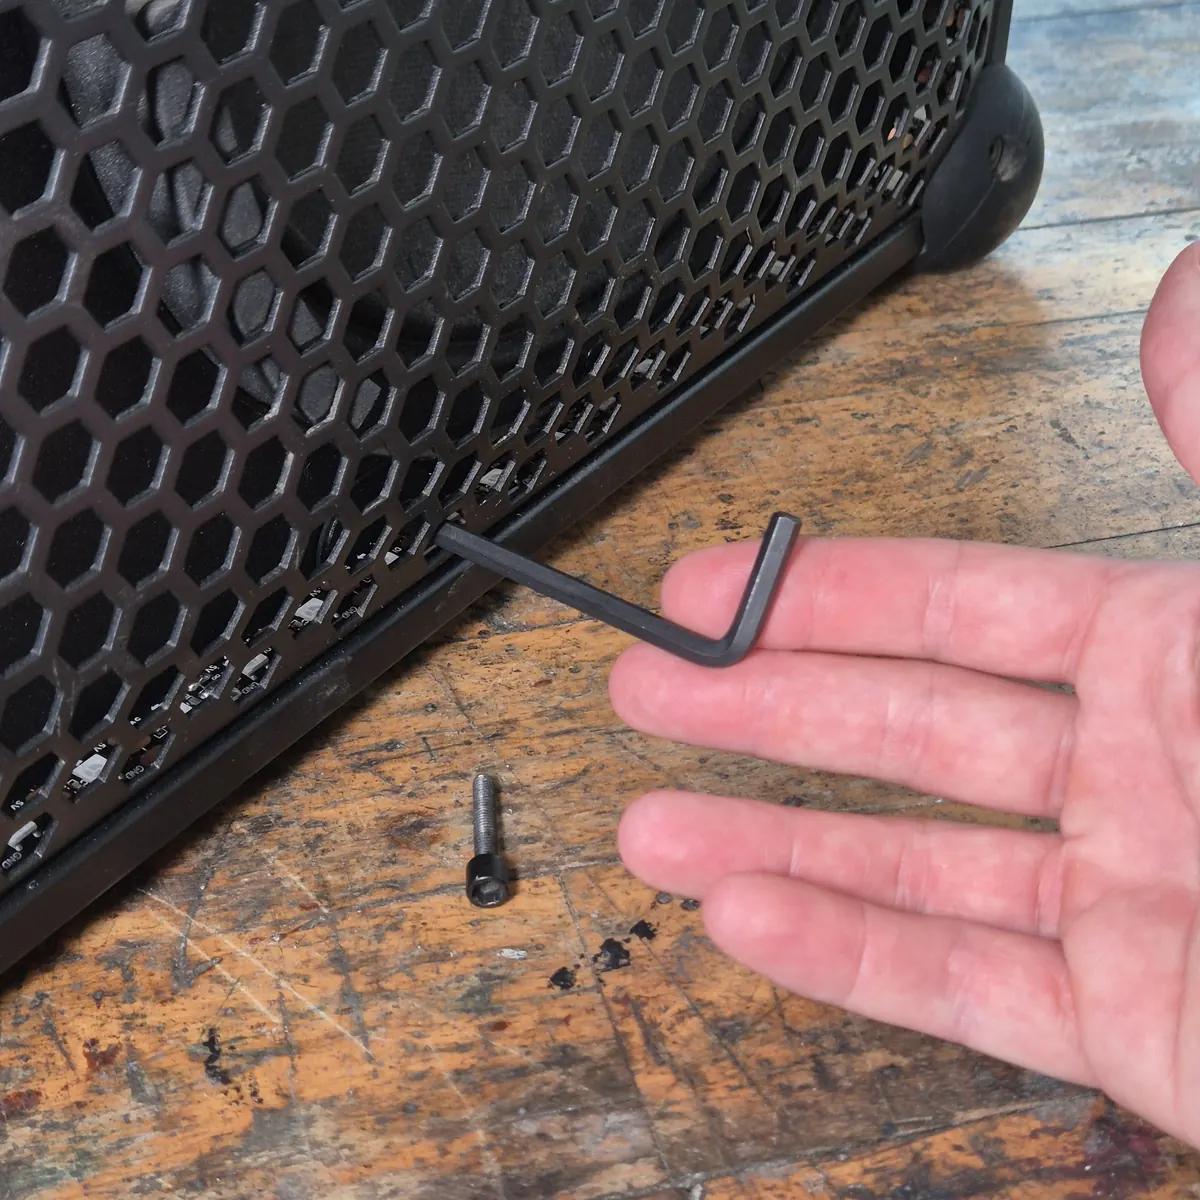
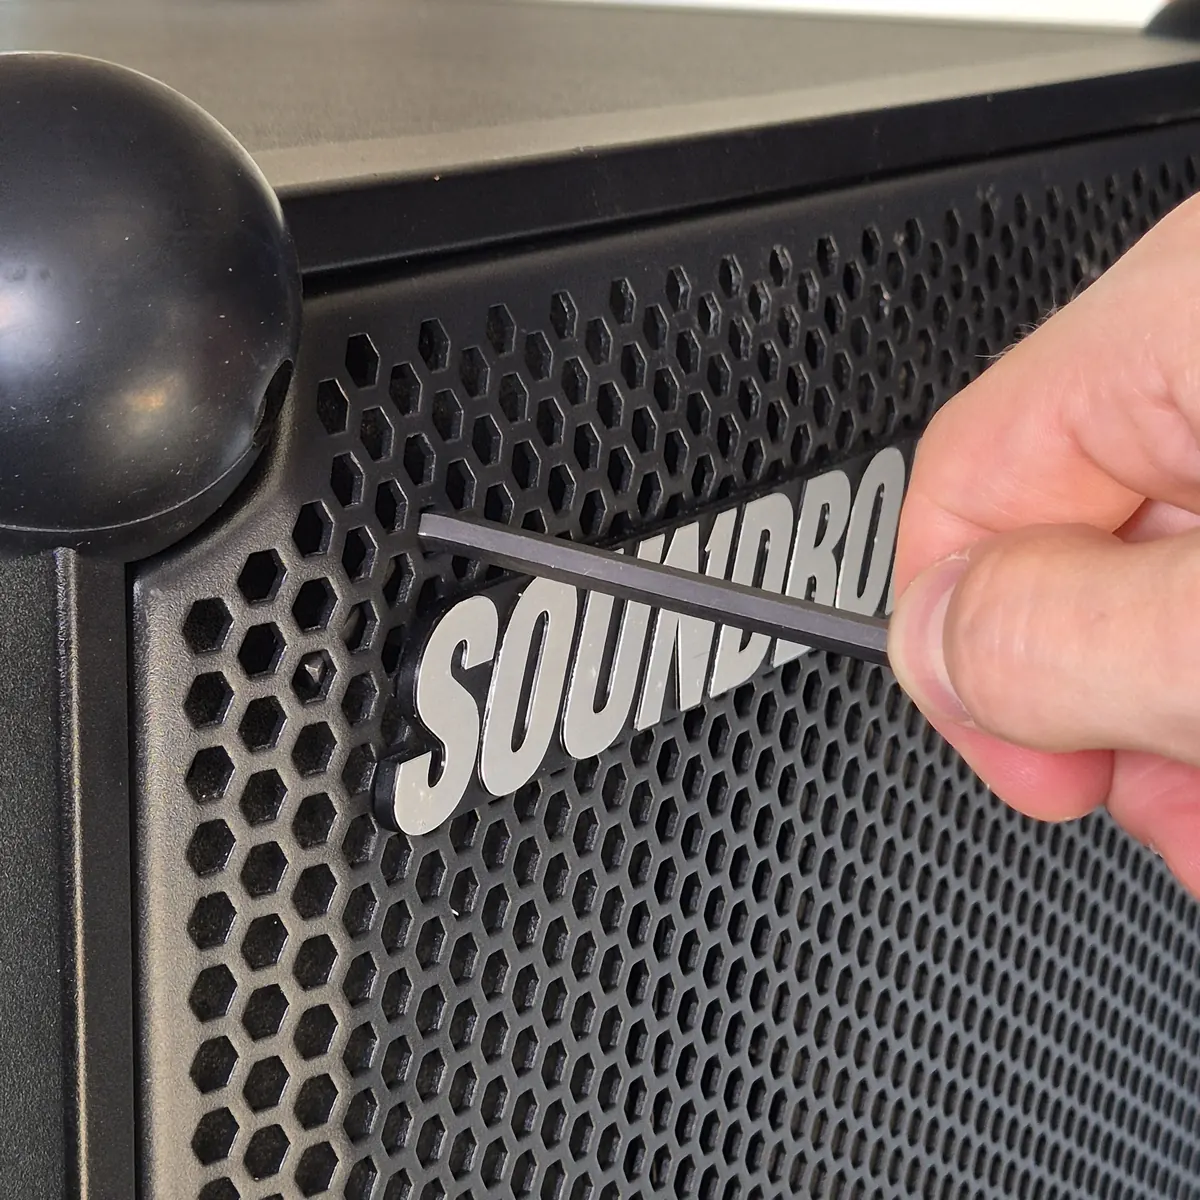
If you no longer have your 'Grill Removal Tool', you can use the included hex key to pry the grille out, as shown in the photo.
Pop out the rubber plugs
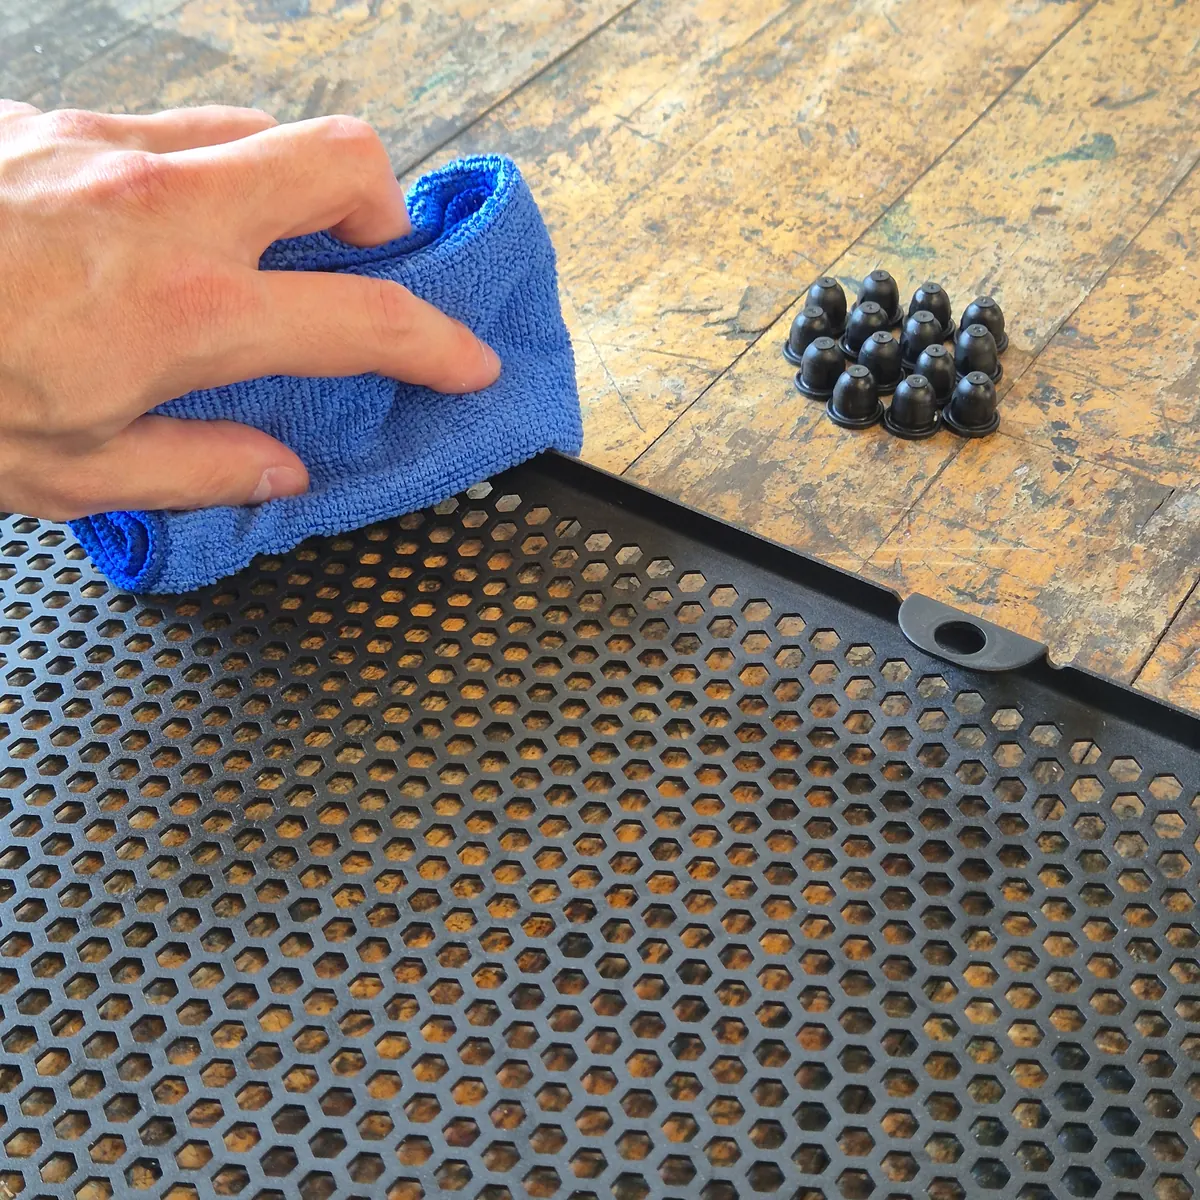
Place the grille face down on a clean surface. To give yourself good working room to lay the LED strip neatly in step 6,
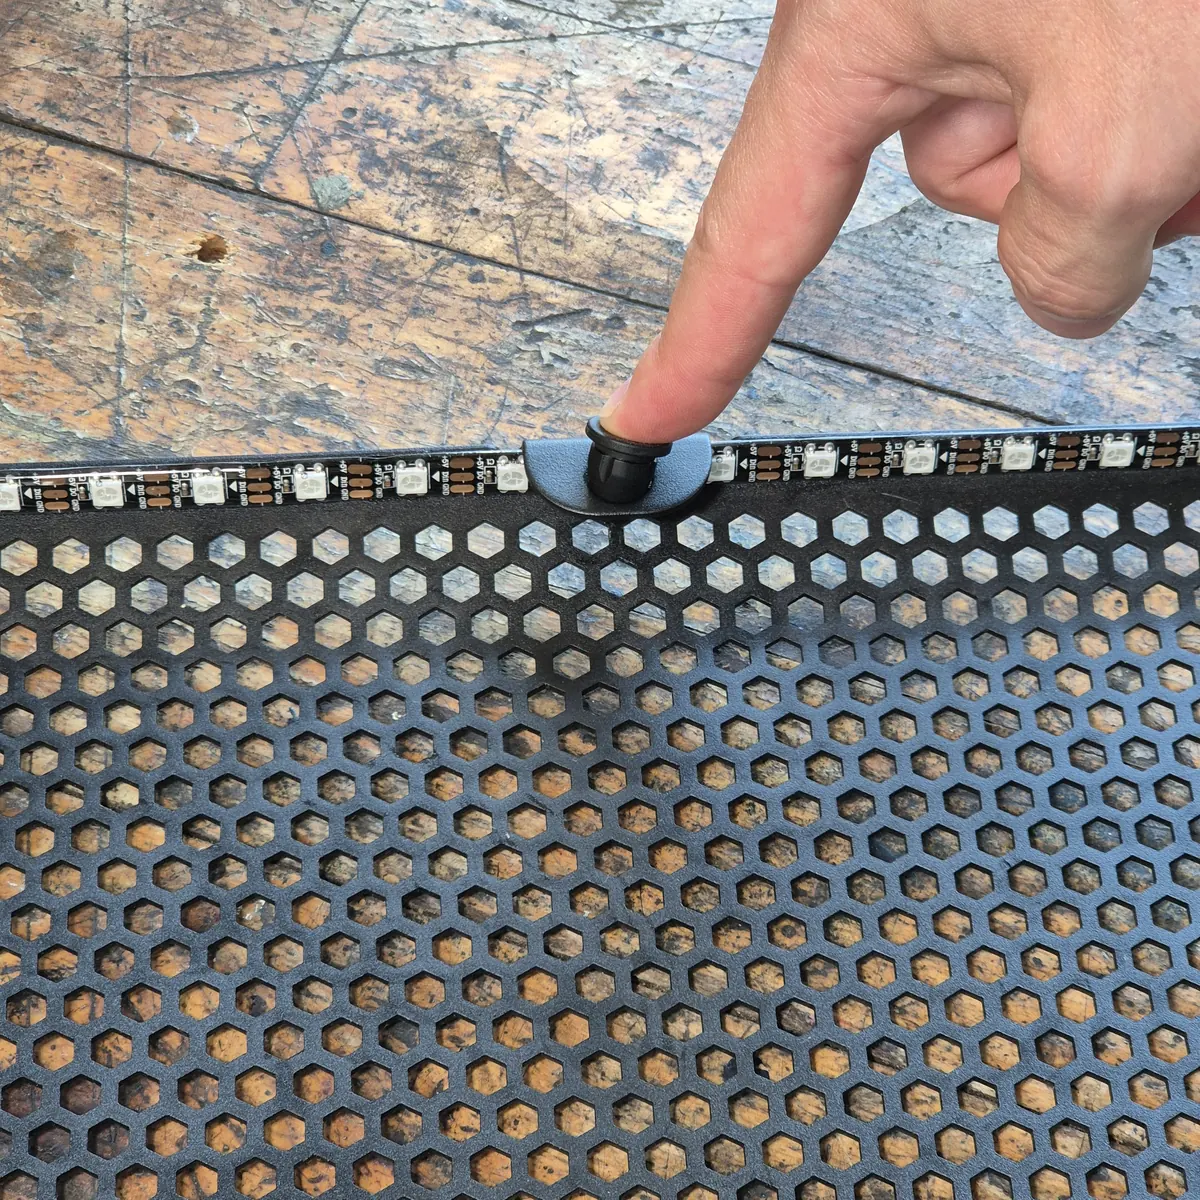
we need to remove the rubber plugs, as shown in the photo.
Keep the plugs in a glass or similar container so you don't lose them.
There are 14 rubber plugs in total.
Clean the grille
Clean the inside of the grille edges with a damp cloth, then dry with a dry cloth.
Unscrew the nuts from the logo
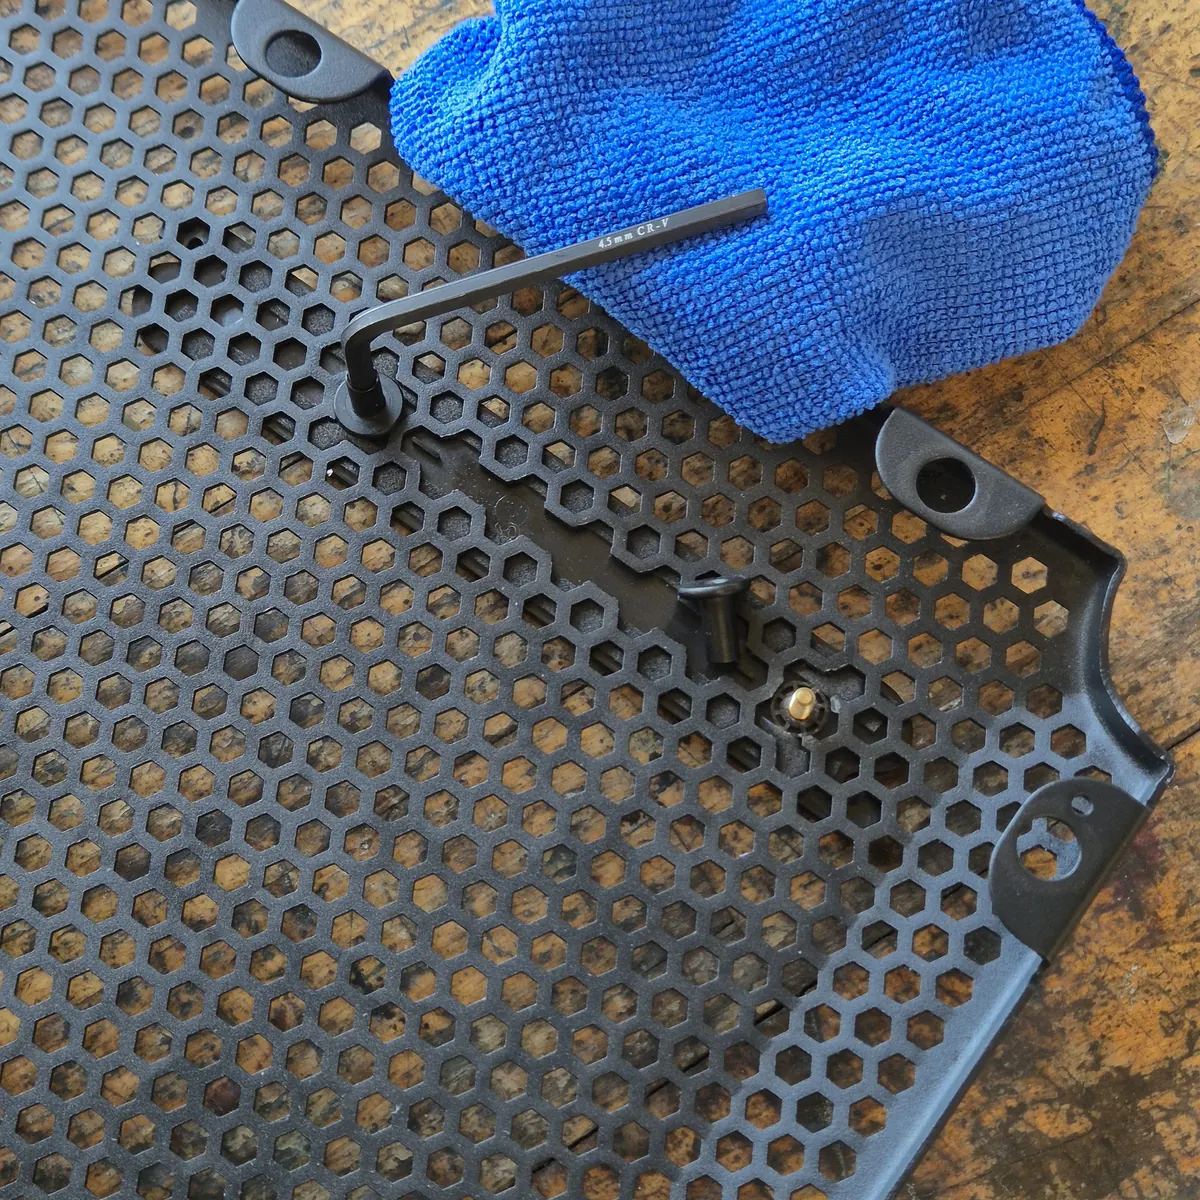
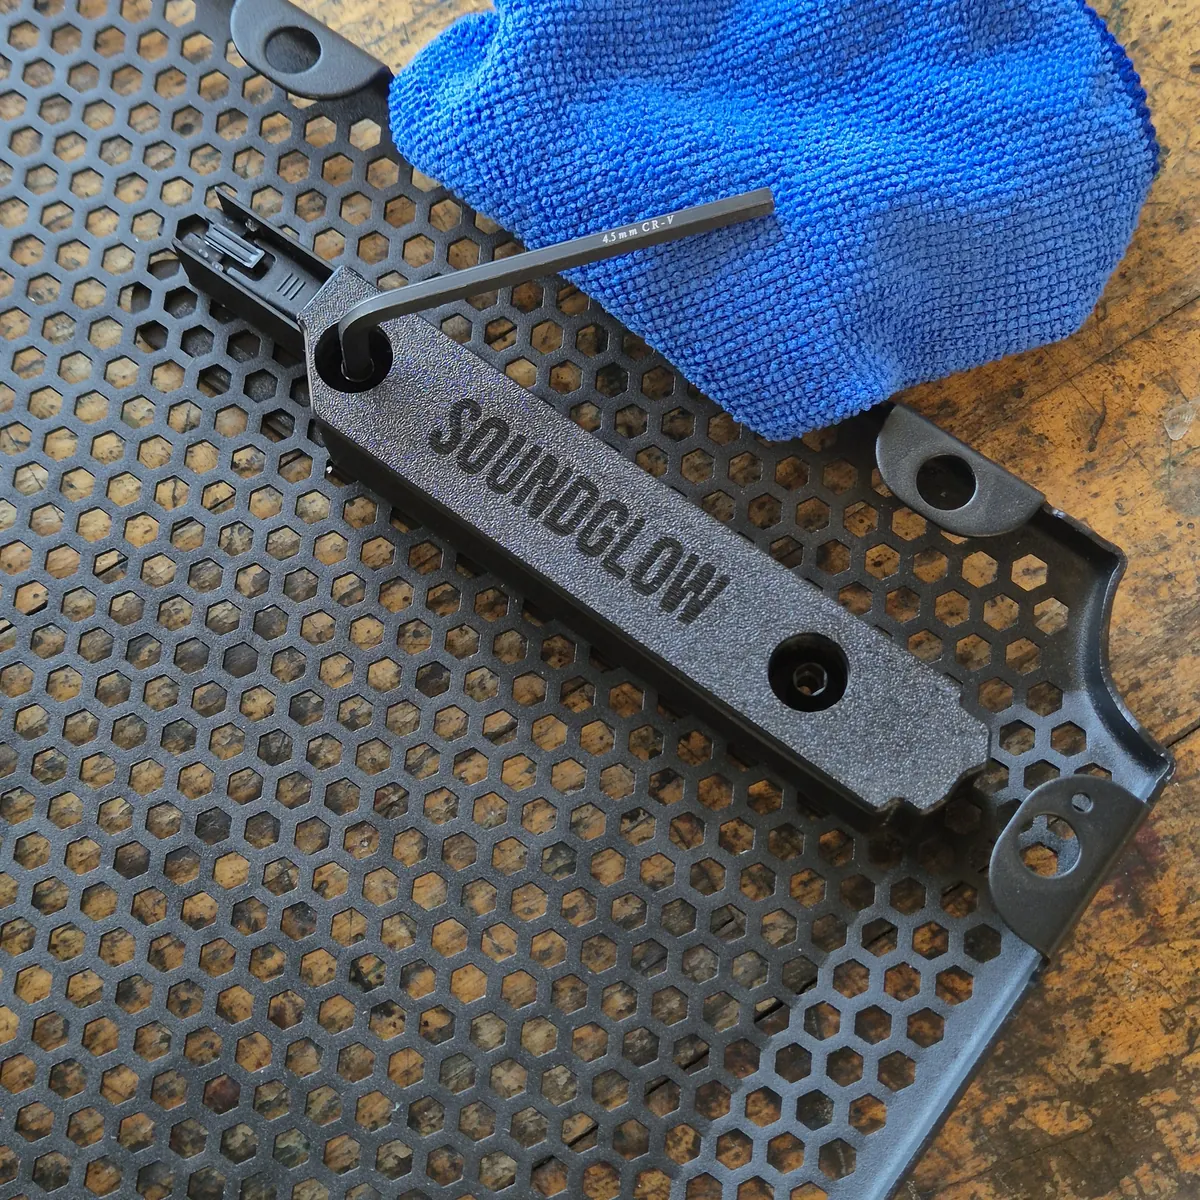
Unscrew the two nuts holding the SOUNDBOKS logo using the included hex key.
Keep these nuts.
Mount the controller housing
Use the nuts from the logo to mount the controller housing behind the logo.
Simply place the housing behind the logo, put the nuts through the two holes and tighten them gently.
Mount the LED strip
Place the LED strip inside the grille with the diodes facing inward toward the center.
Start at the controller housing and click the connector in.
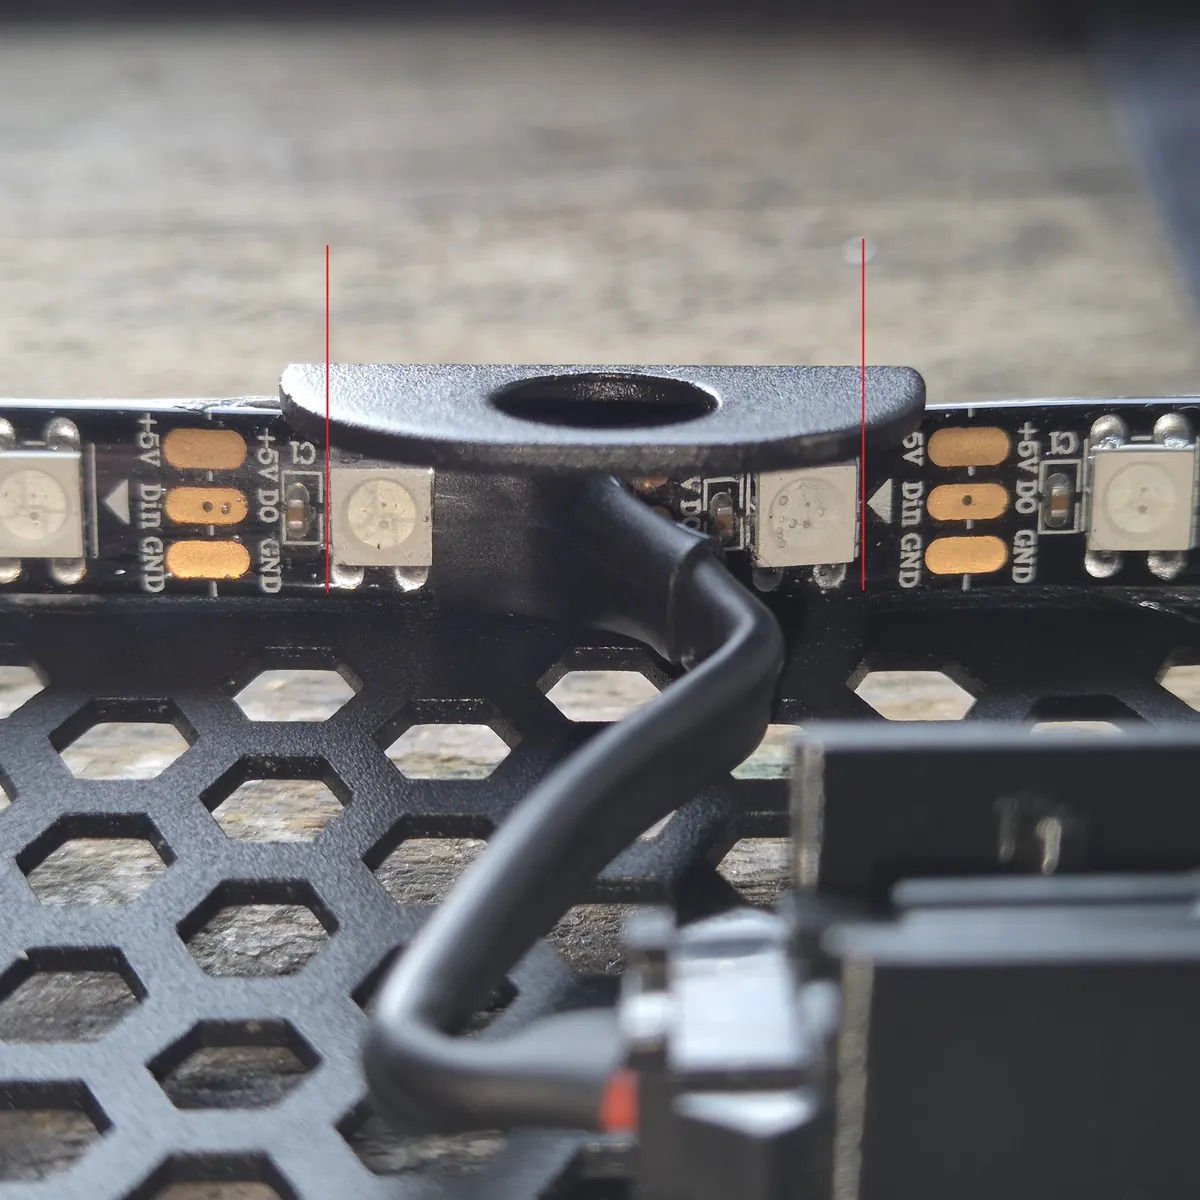
Make sure to center your LED strip and mount it as shown in the photo. It's important that the first and the last LED sit the same distance from the center of the grille — that keeps the light effects symmetrical.
Now start mounting the LED strip: remove only a little of the red protective backing at a time, and press the LED strip firmly against the inner edge of the grille.
Work your way around the grille. Press the LED strip firmly against the grille — several times if needed.
Test the light
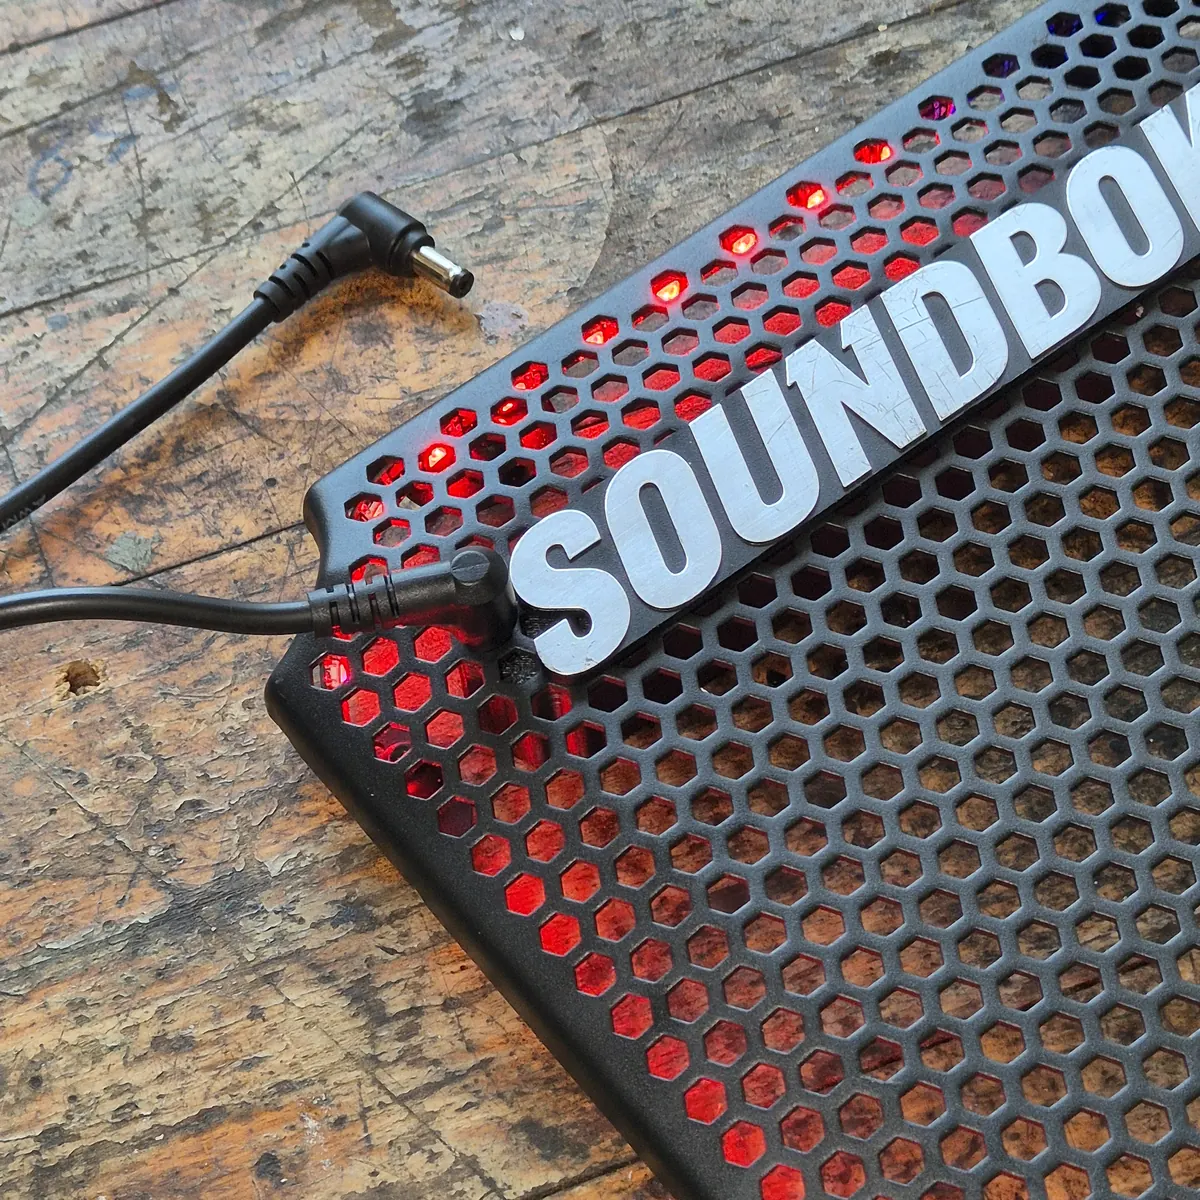
Connect your SOUNDBOKS battery to the included power cable and then to the new power port in the grille. If the LED strip turns on automatically, everything is as it should be.
Put the rubber plugs back
Put the rubber plugs back in, as shown in the photo.
Reattach the grille and connect the light
Attach the grille back onto your SOUNDBOKS. Connect the power cable to your SOUNDBOKS battery, the speaker and the controller housing.
Download BanLanX App
Congratulations! Your SOUNDBOKS is now upgraded with SOUNDGLOW. 🎉
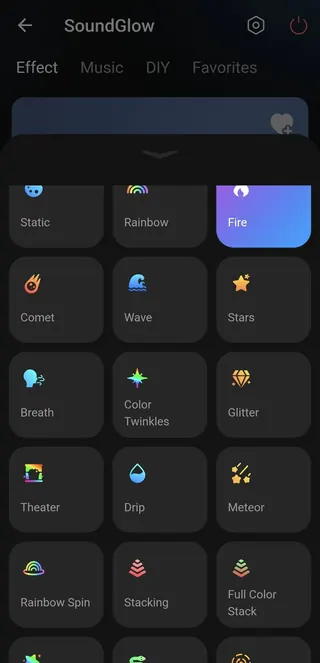
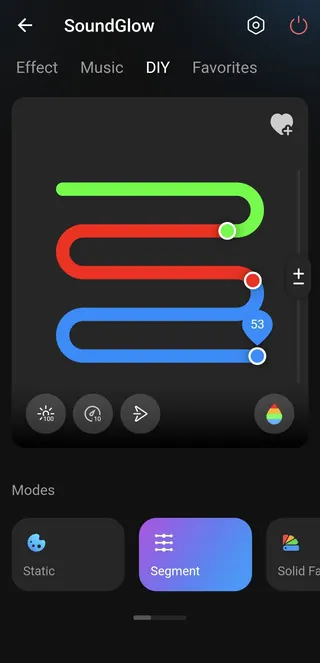
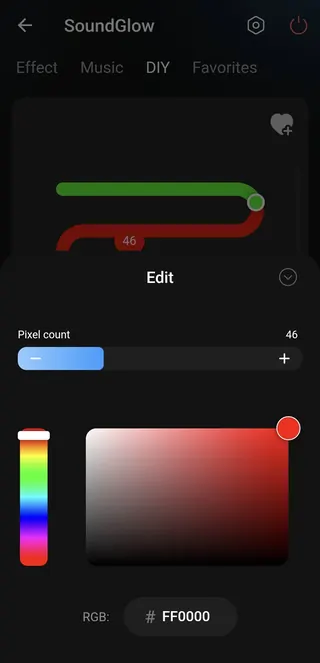
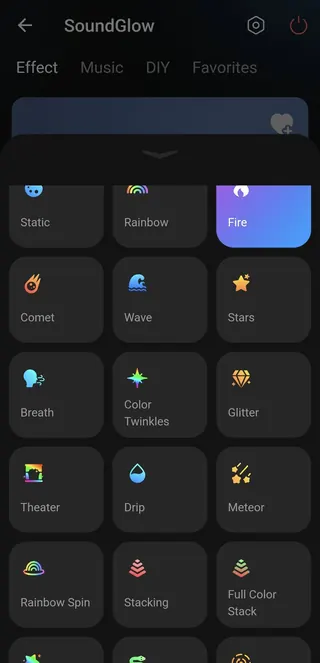
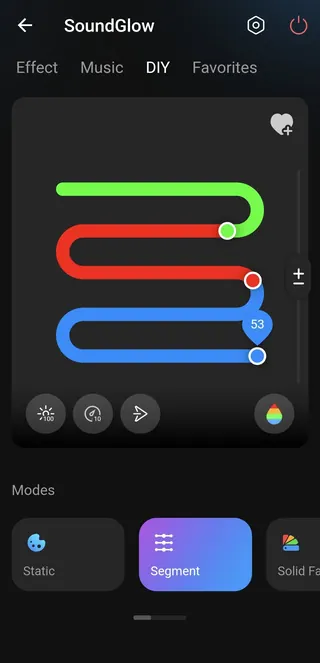
Control your light effects over Bluetooth via the BanLanX app, available for iOS and Android.
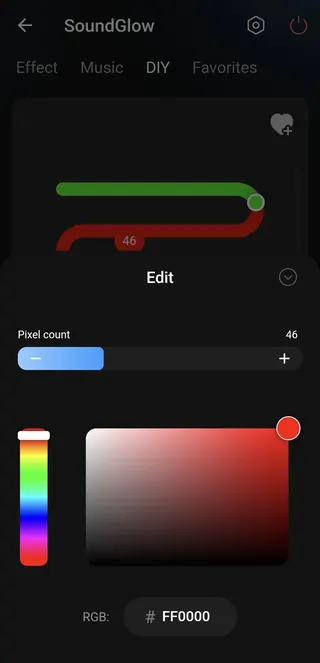
Choose from 39 effects, adjust colors and intensity, and let the 8 music-driven effects run the light show automatically.
Enjoy!
Party UFO
Give your Party UFO the best start
Congratulations on your new Party UFO. We have packed it with features to give you the ultimate experience. But before you fire up the party, there is one important thing to remember: a great light show needs good power.
Your Party UFO runs on 5V, and to deliver the strongest colors and a stable wifi connection it needs a stable power supply.
Use a modern power bank or wall charger
Make sure to connect your UFO to a power source that can deliver at least 2–3 amps (10–15 watts). Newer chargers for smartphones and tablets are perfect!
Use a good-quality USB-C cable
A thin or old cable can throttle the power. A solid cable makes sure everything lights up exactly as wildly as it should.
Controller button
Your Party UFO has one button on top. It lets you control the UFO entirely without the remote.
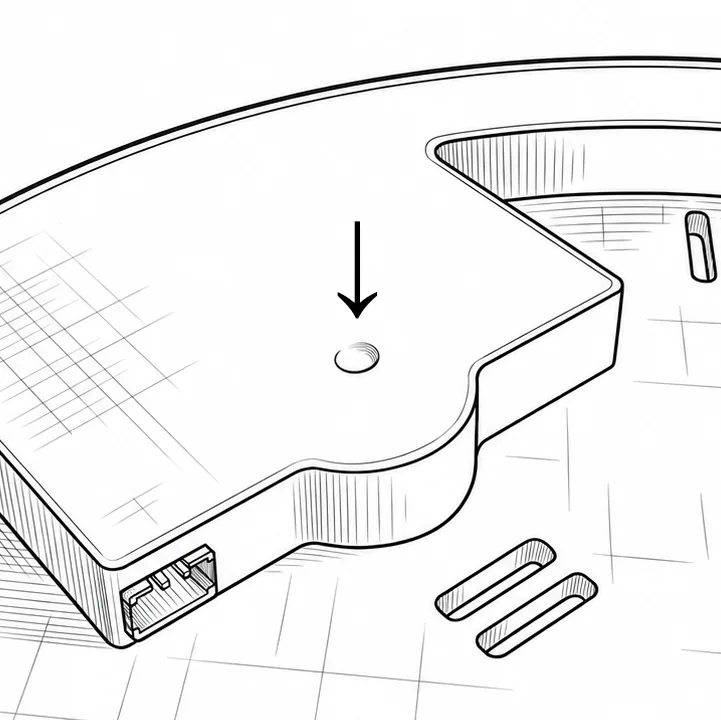
- 1 pressAuto-pilot — listens to the music and changes effect automatically.
- 2 pressesWhite light
- Hold for 5 secondsTurn off the light
- Hold for 20 secondsReset to factory settings
Remote control
A remote is included. Each button controls an effect or the brightness:


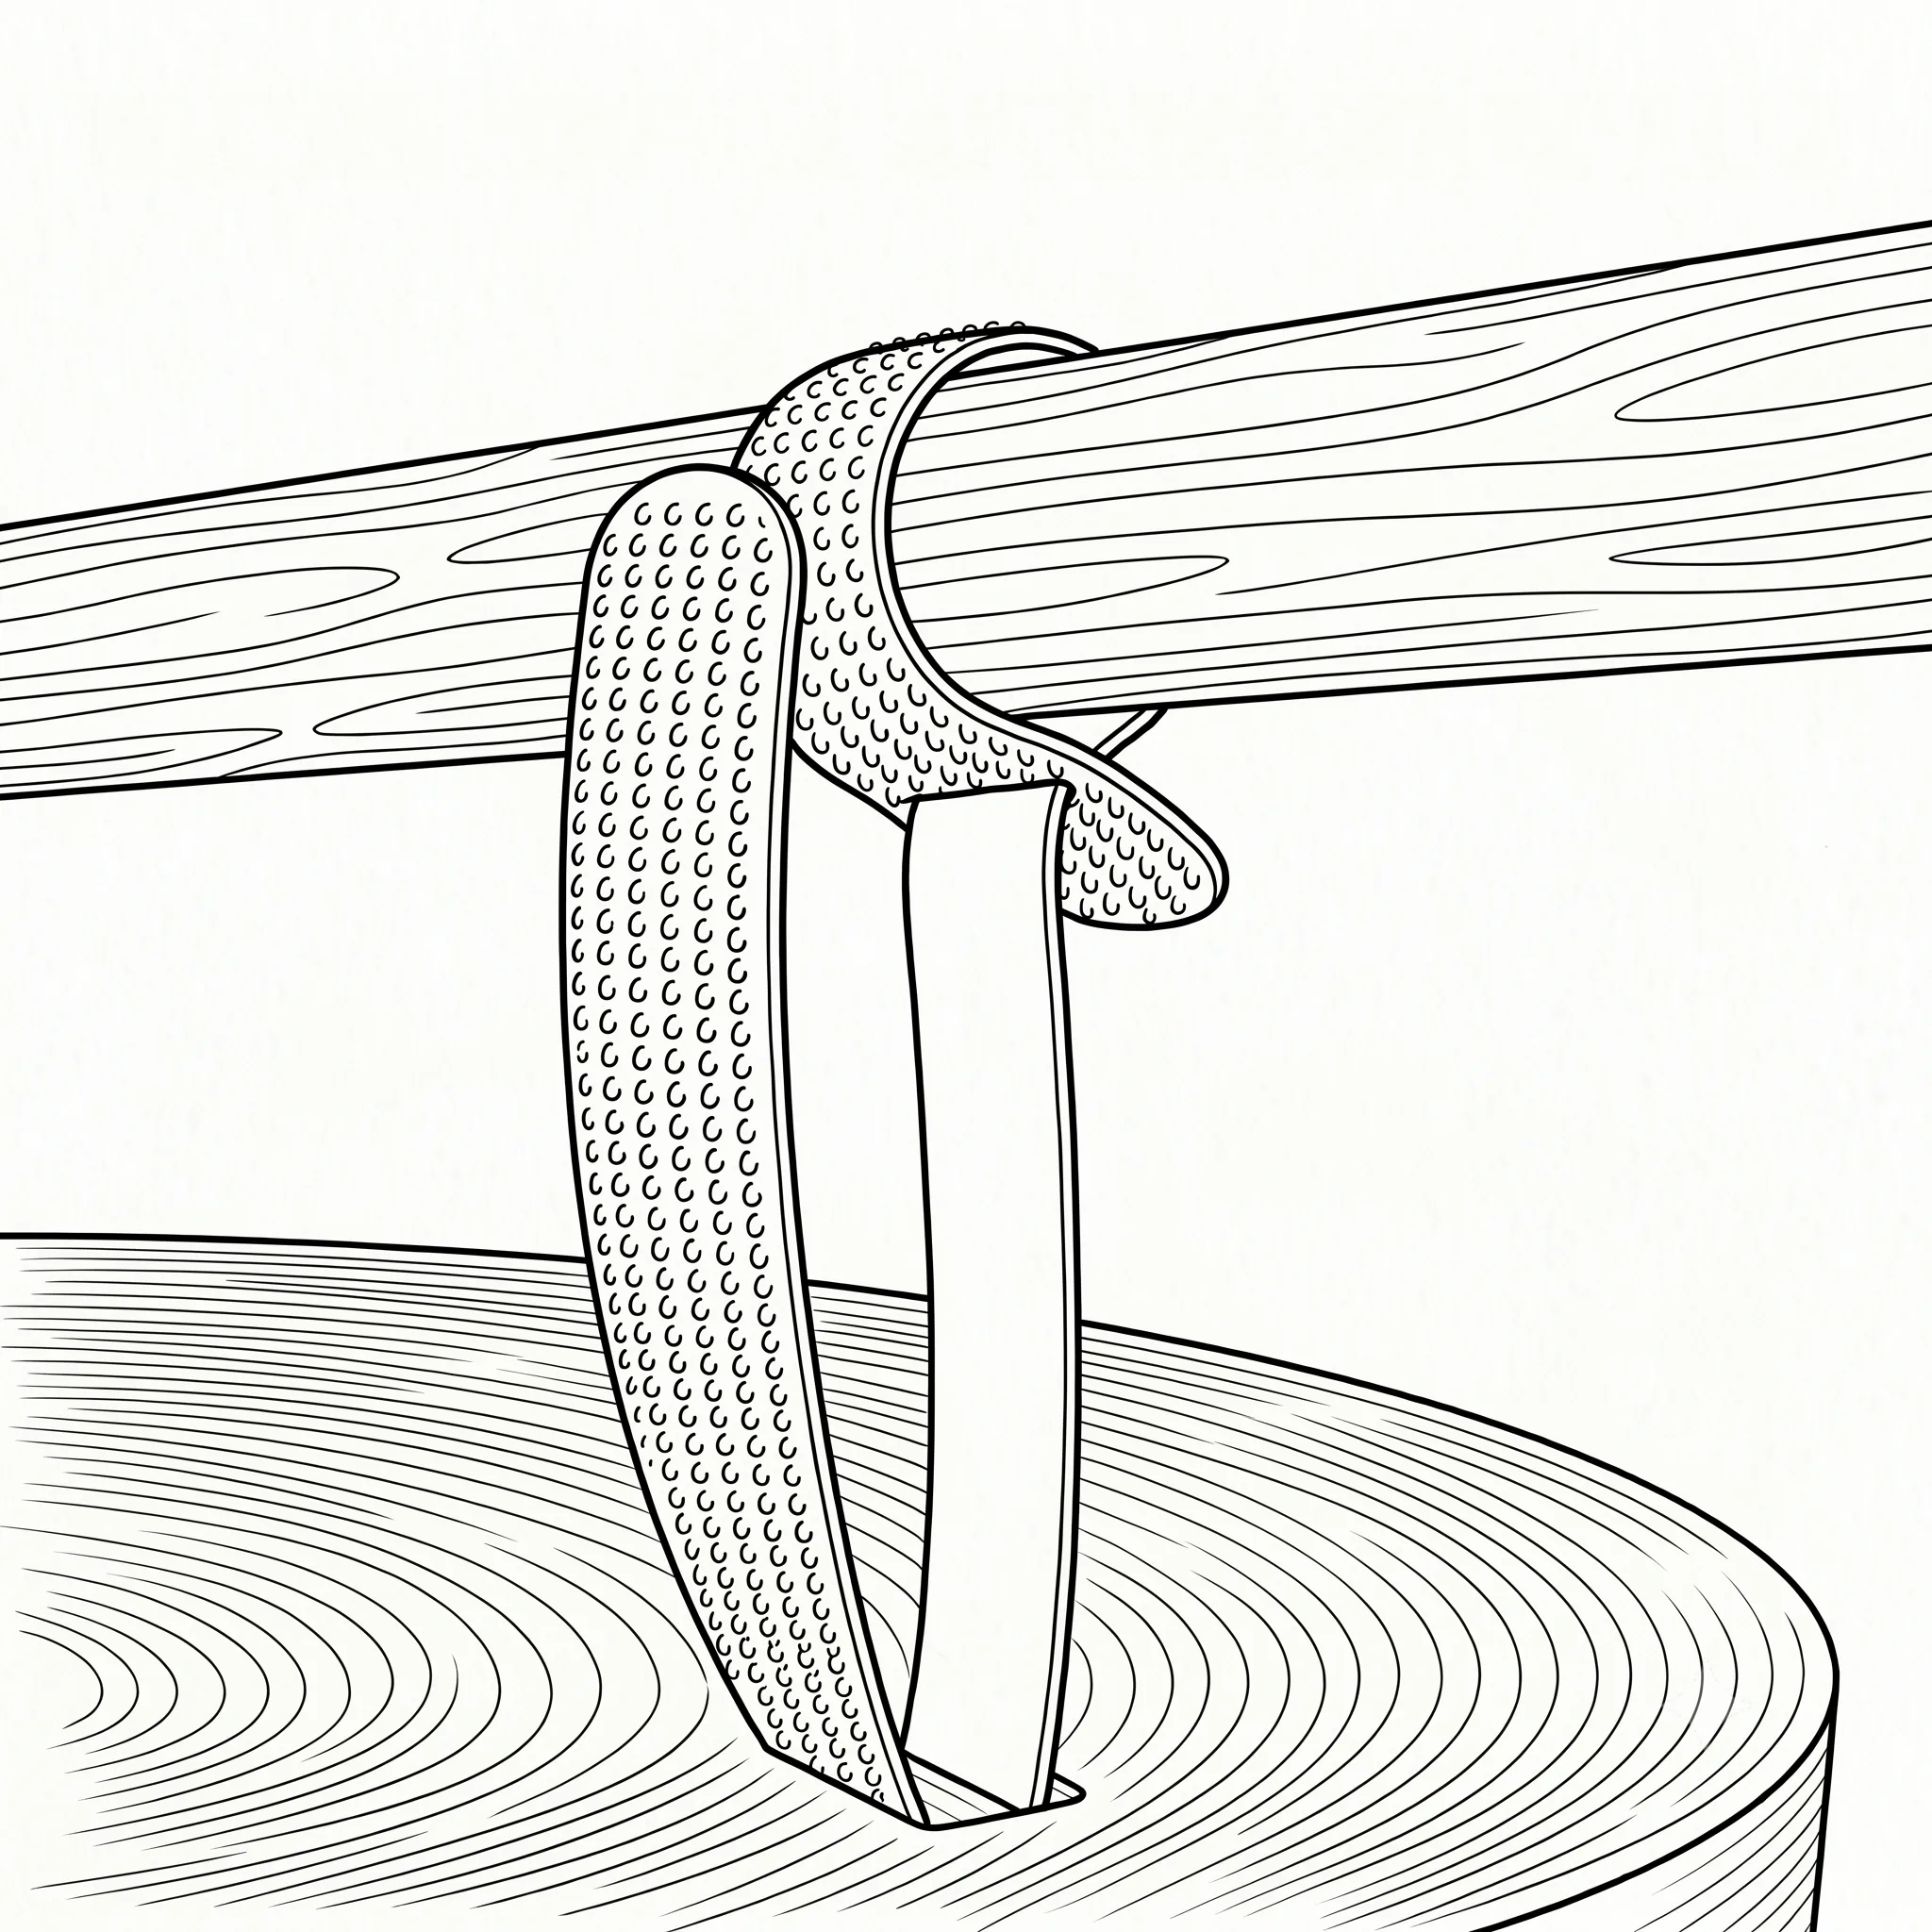
Mounting with velcro straps
The velcro straps should be looped around the object and then through your Party UFO, as shown below. That way it stays firmly in place.
Accessories
The light string, magnets and hooks are included in the box — you don't need to buy anything extra to get started.
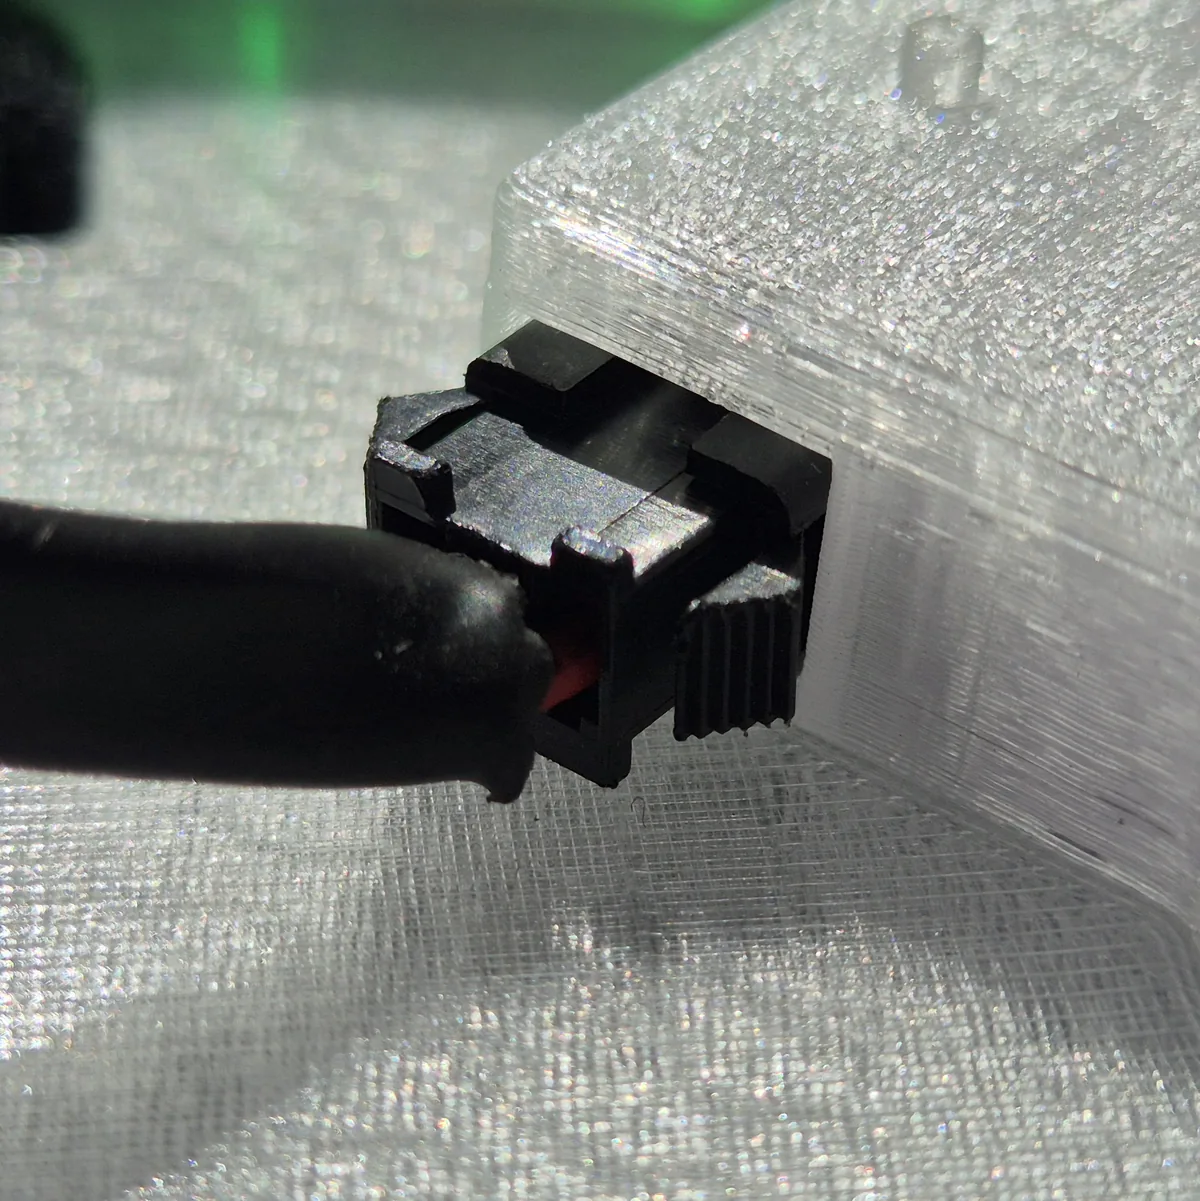
5m light string
You can extend your Party UFO with a 5 metre light string. The light string continues the UFO's effects and works really well in open areas such as terraces and gardens. Plug the connector straight into your Party UFO as shown in the photo below. Remember to hold down the tall transparent tab when you pull the connector out again.
Magnets
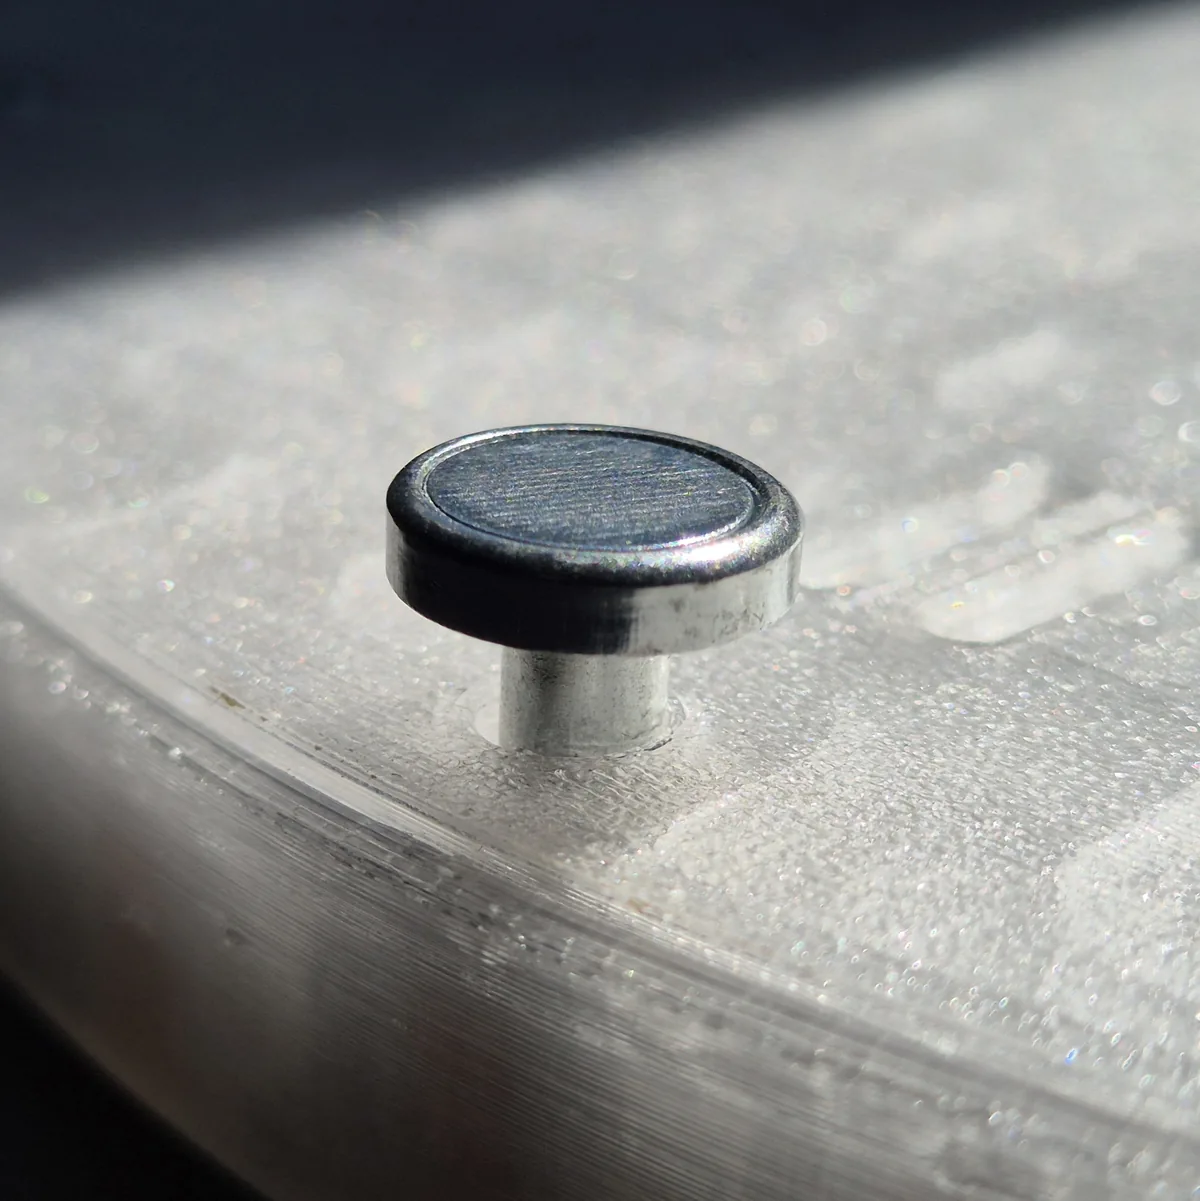
The magnets let you put your Party UFO straight onto magnetic surfaces. It doesn't get easier than that. Screw them into the built-in M4 threads on your Party UFO as shown in the photo below. Be careful not to overtighten.
Hooks
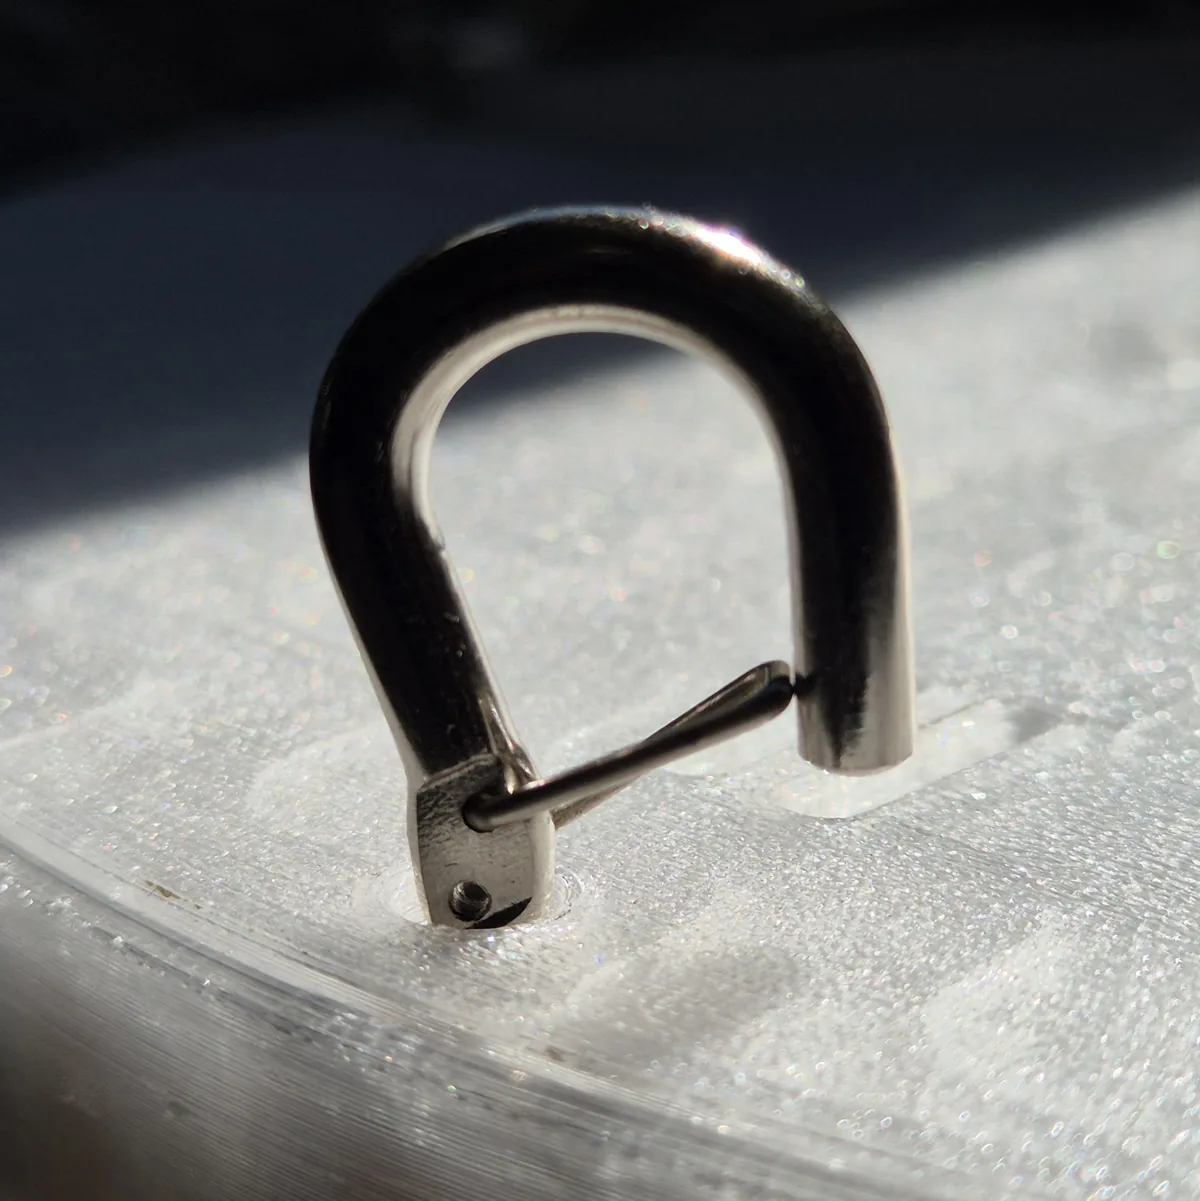
Hooks with a locking mechanism that open up whole new mounting options for your Party UFO. Screw them into the built-in M4 threads on your Party UFO as shown in the photo below. Be careful not to overtighten.
Control with the WLED app
Your Party UFO can be controlled with the WLED app. In the app you can set up your own presets, colors, playlists, segments and much more. Download the app for iPhone or Android here:
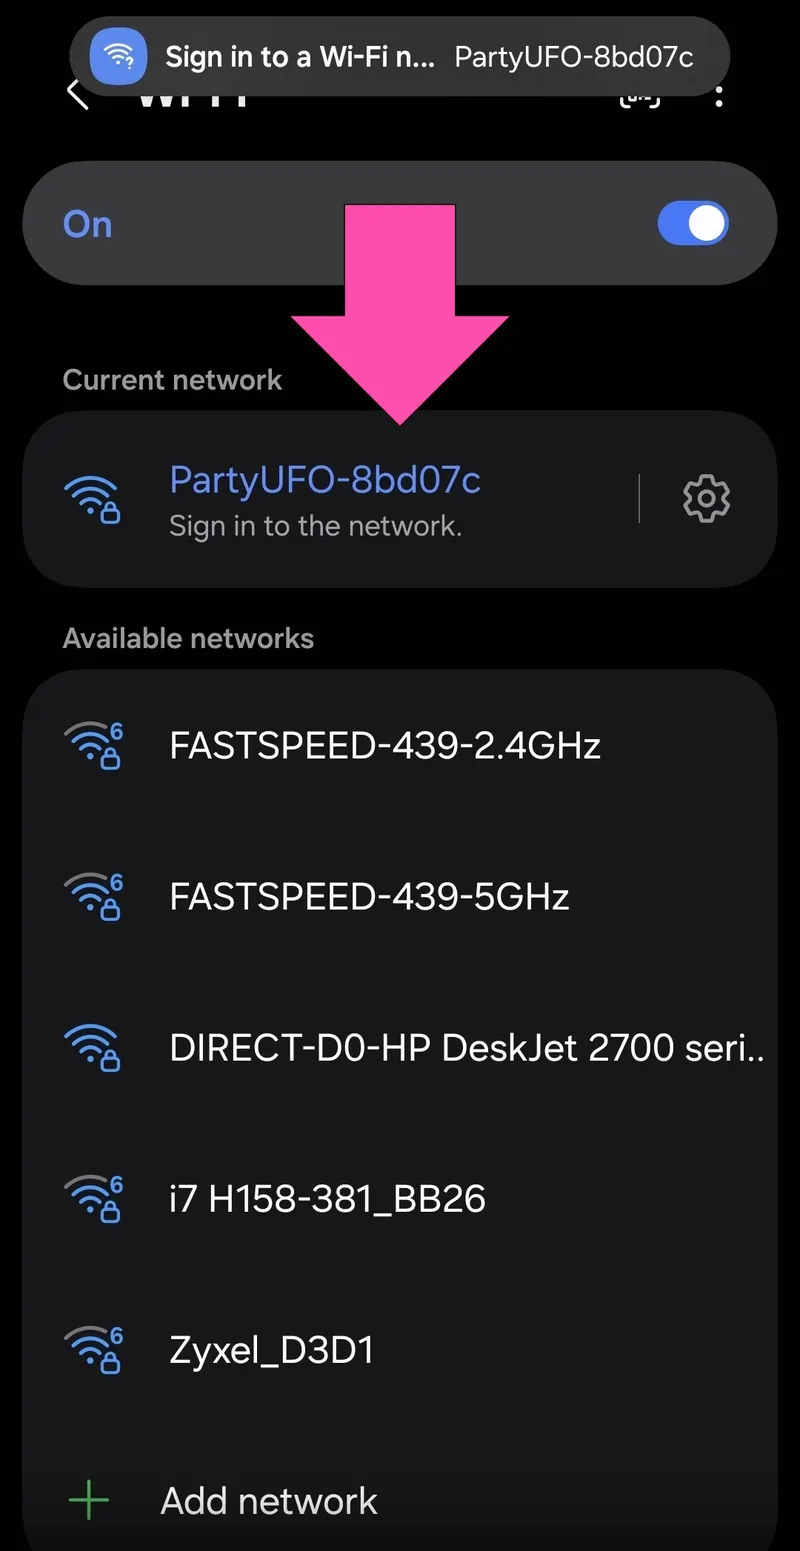
The Party UFO is controlled over wifi. When the UFO is not near a known wifi network, it creates its own. So the first time you set it up you need to connect to the UFO's own wifi. Turn on your Party UFO, find it under wi-fi and connect — the password is wled1234. You will now get a prompt to sign in to the network, which you should tap as shown in the photo below.
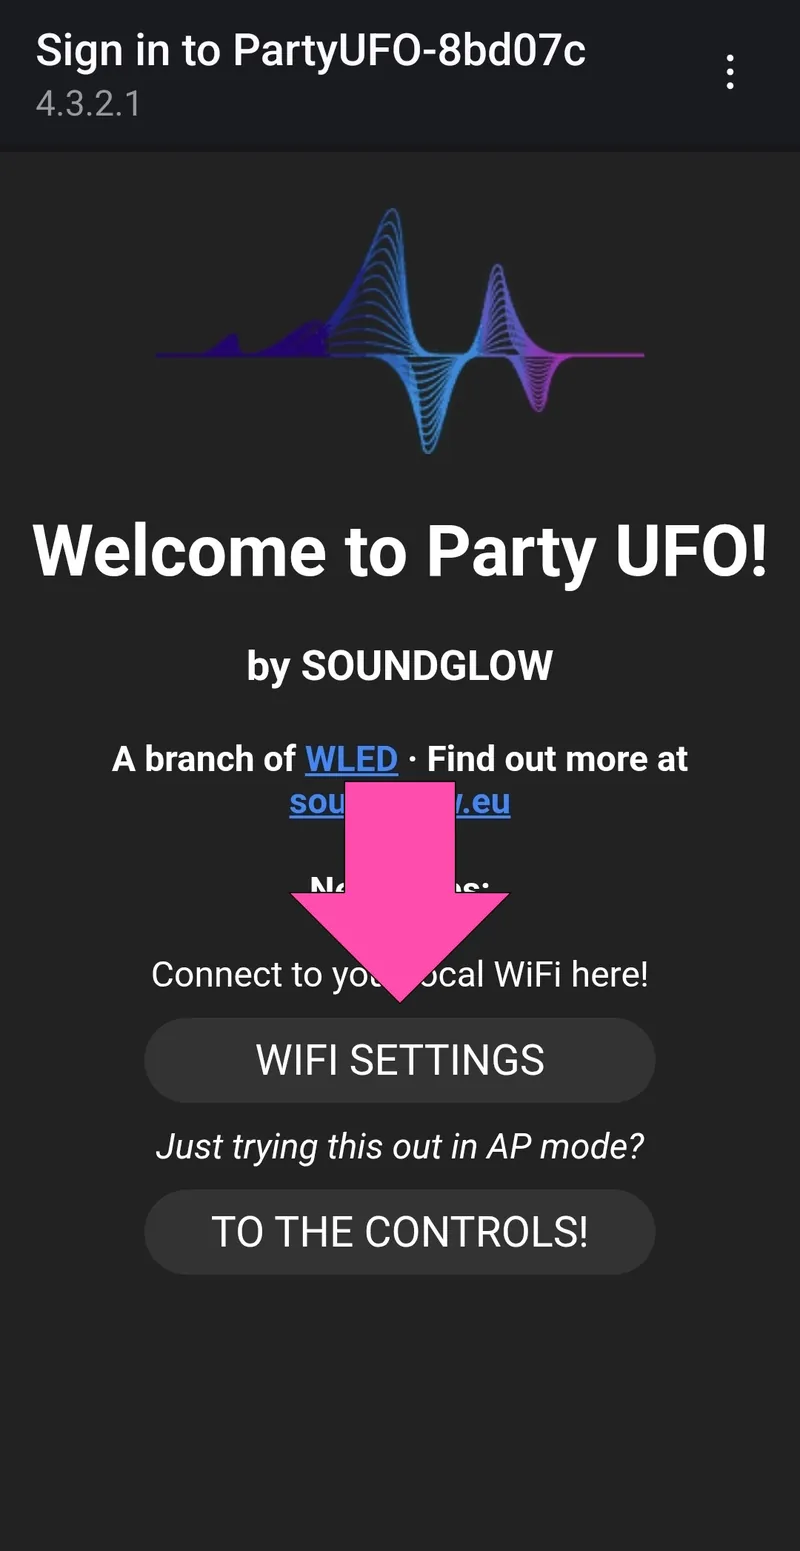
You should now see a welcome screen like the one in the photo below. Tap WIFI SETTINGS.
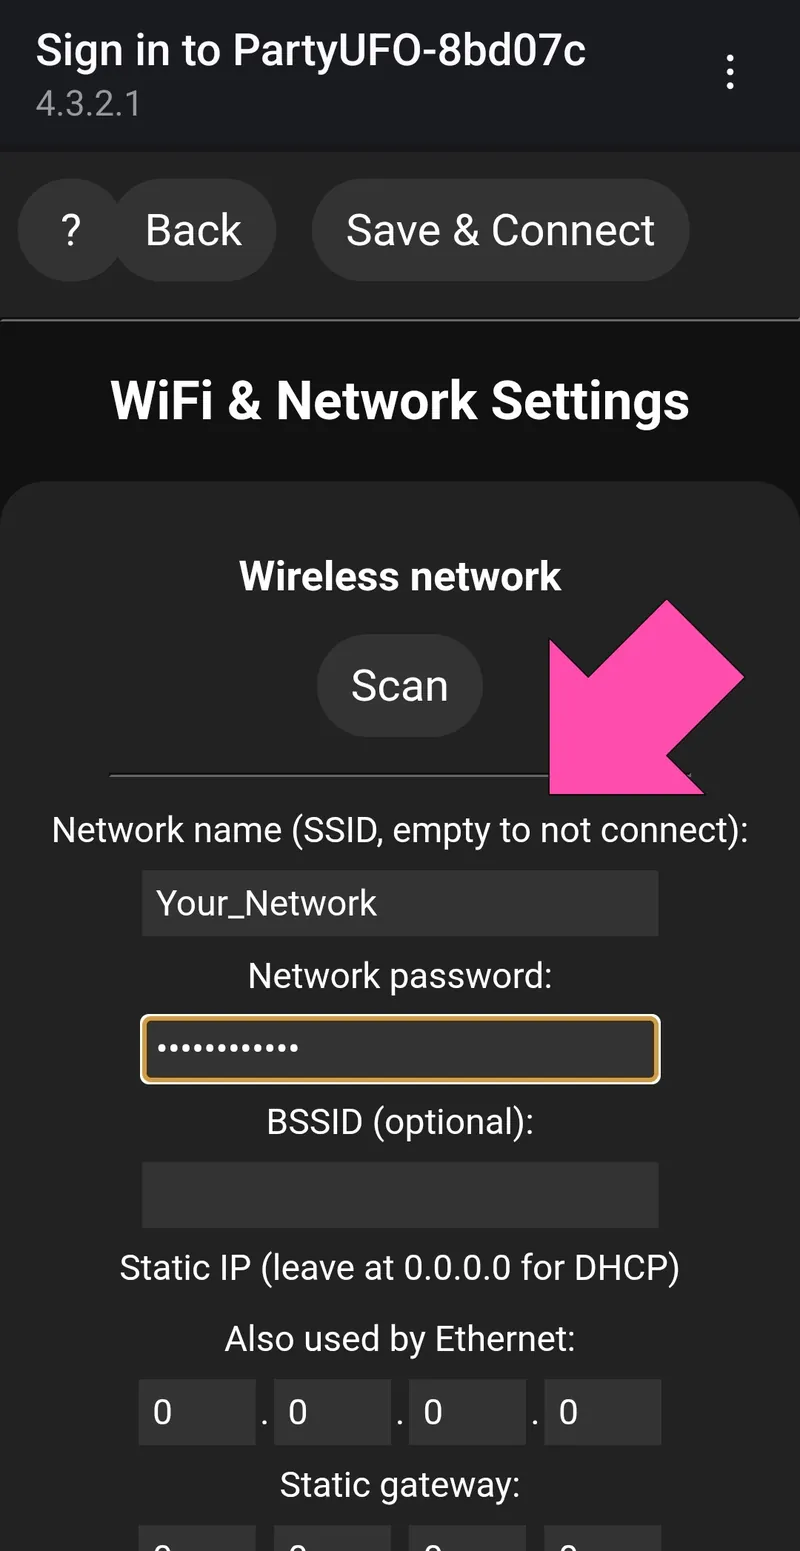
Now we add the UFO to your wifi. Scan for your network and find it in the list — or enter the network name and password manually.
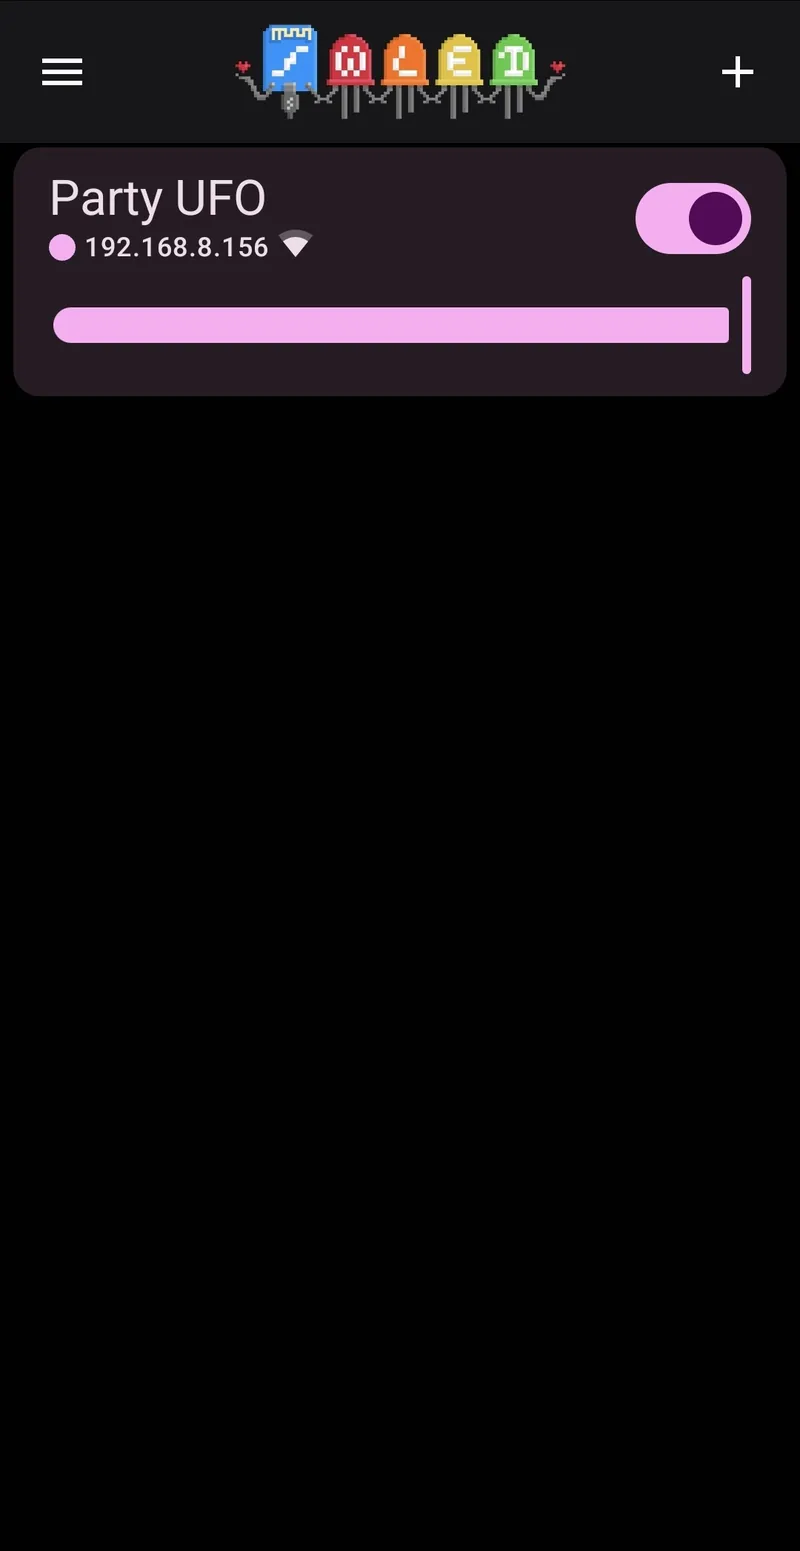
Your Party UFO is now on your wifi! When you open the WLED app you will see your Party UFO in the list of devices, as in the photo below. Remember that your phone has to be on the same wifi network as your Party UFO.
Set up your remote
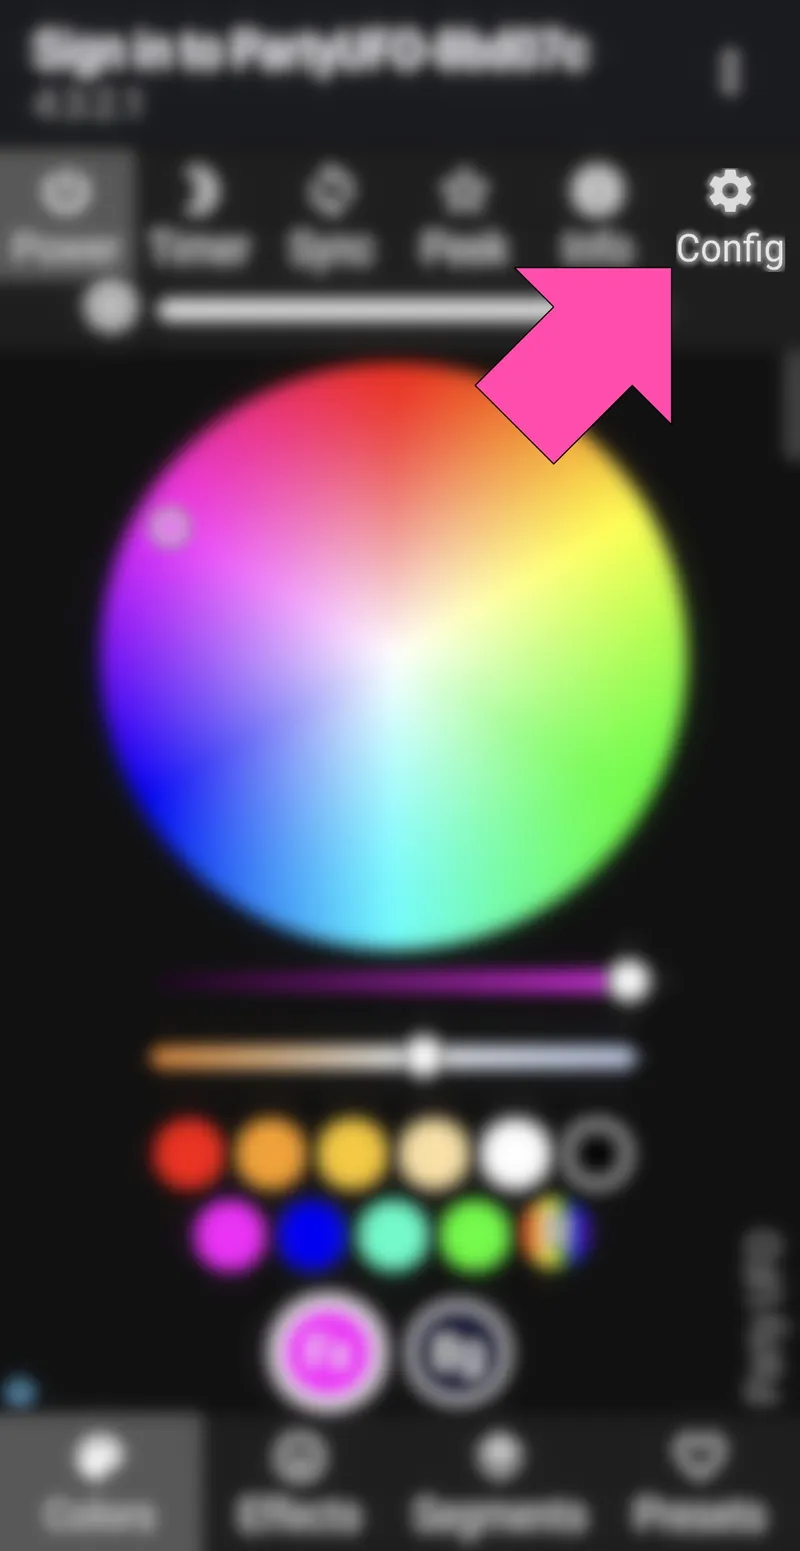
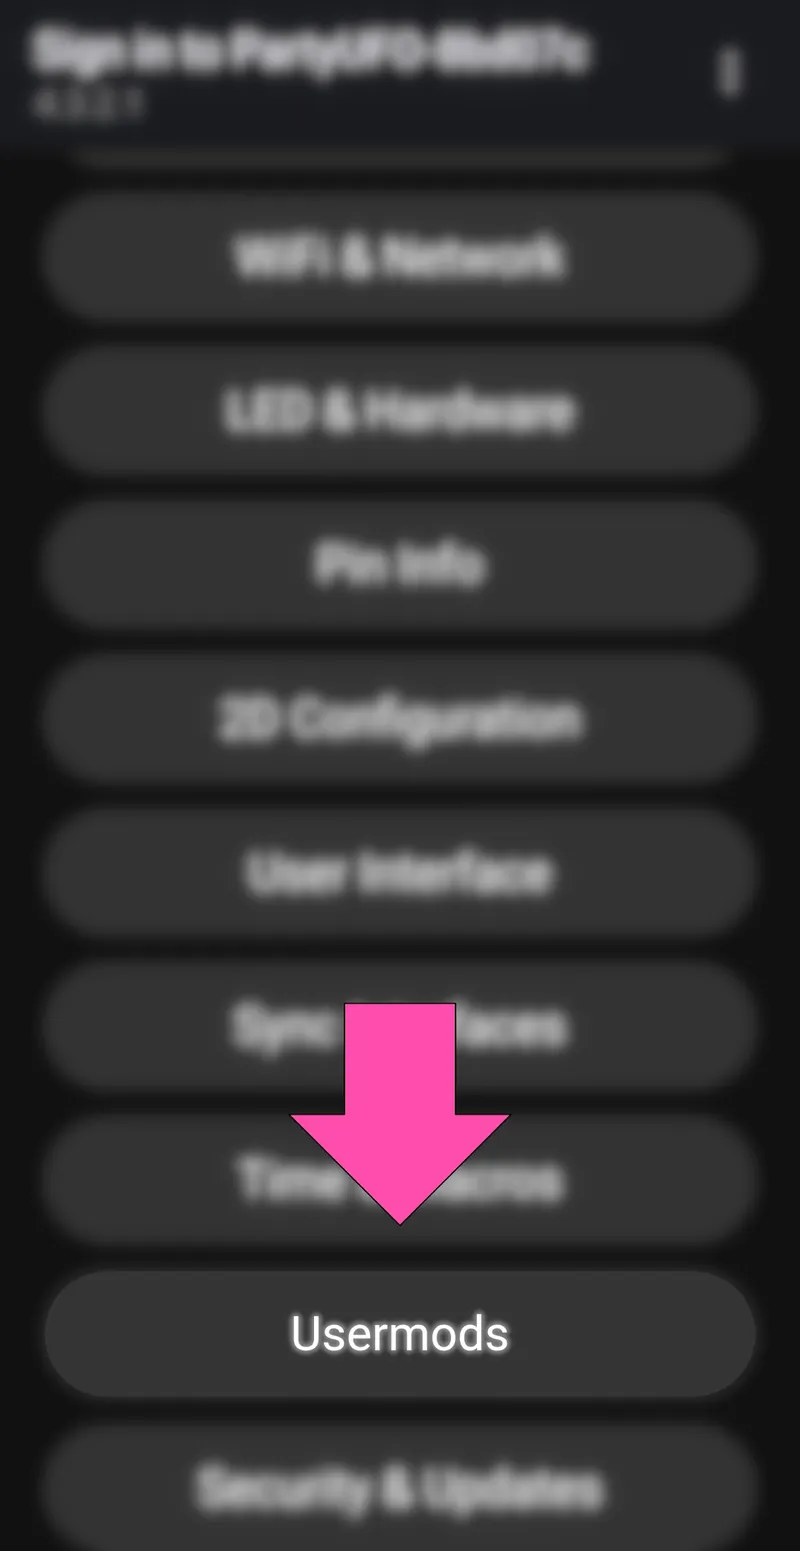
If you want to change the active presets on your remote, you can do that under Config → Usermods → Edit Remote Mappings.
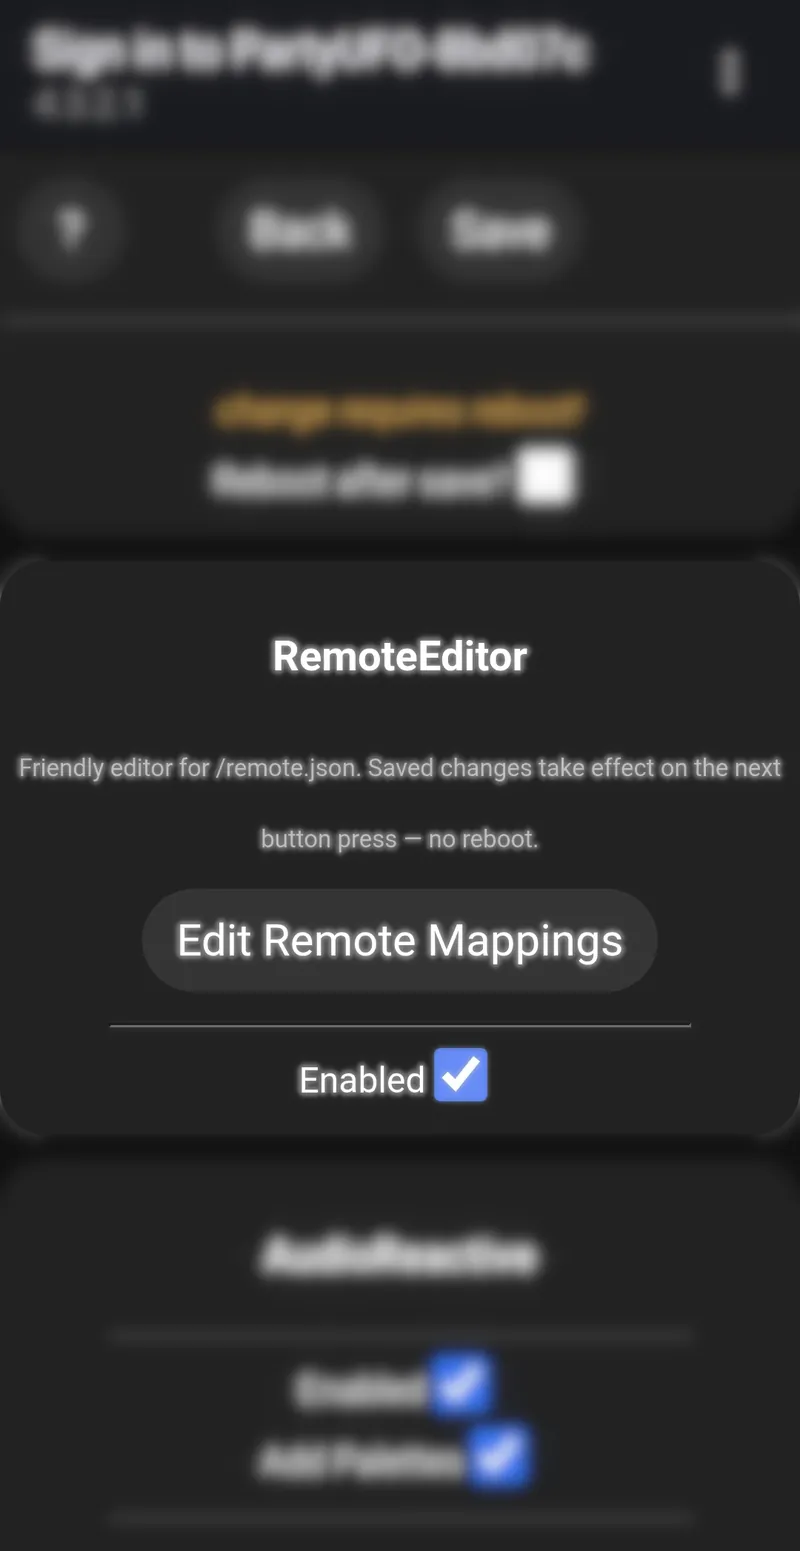
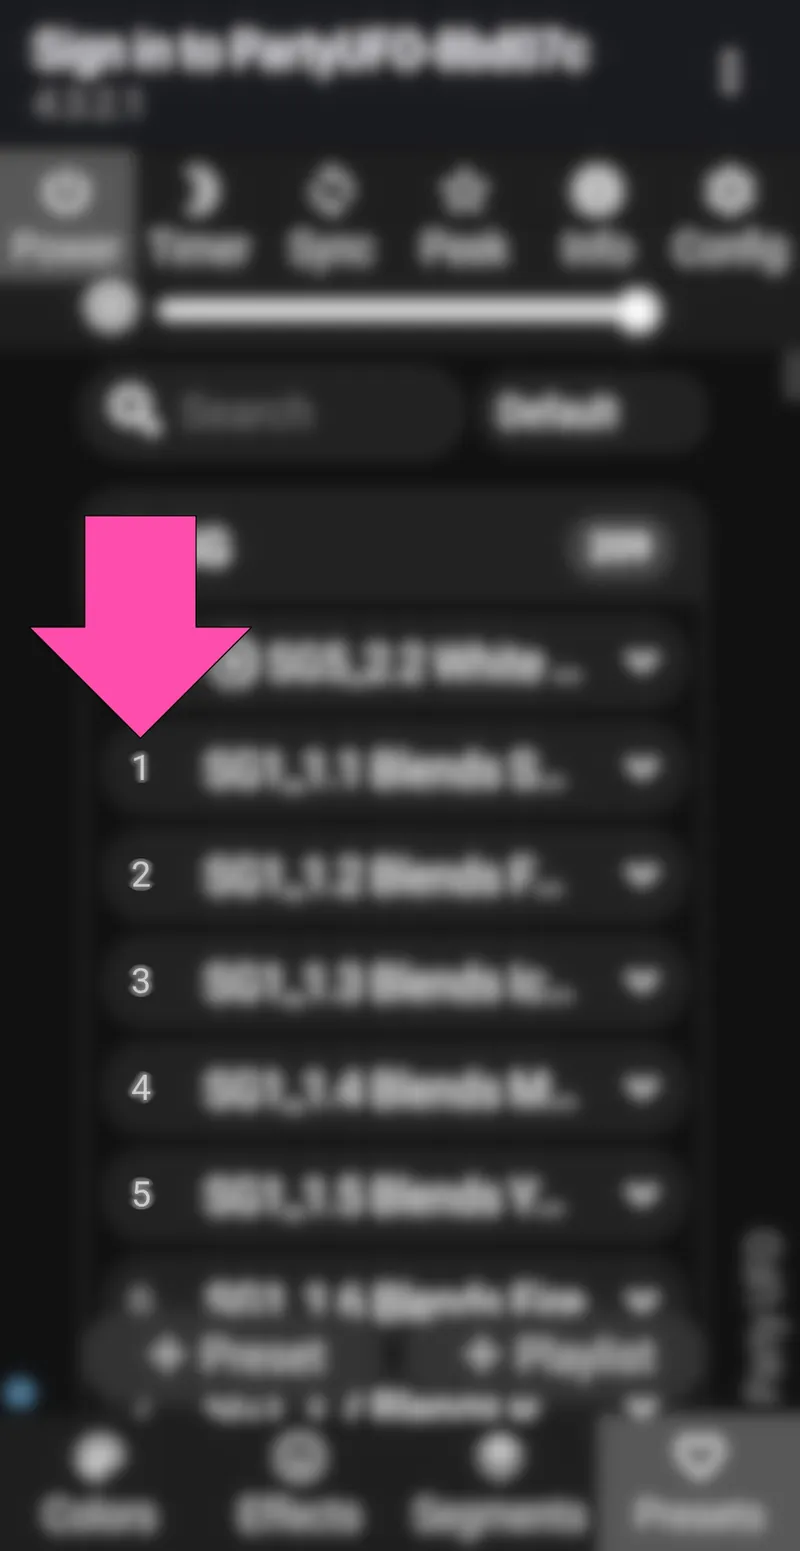
In the Edit Remote Mappings menu you will see that every preset has a unique ID number. You will find the ID numbers for each preset under the Presets tab (see the photo below).
Add or remove remotes
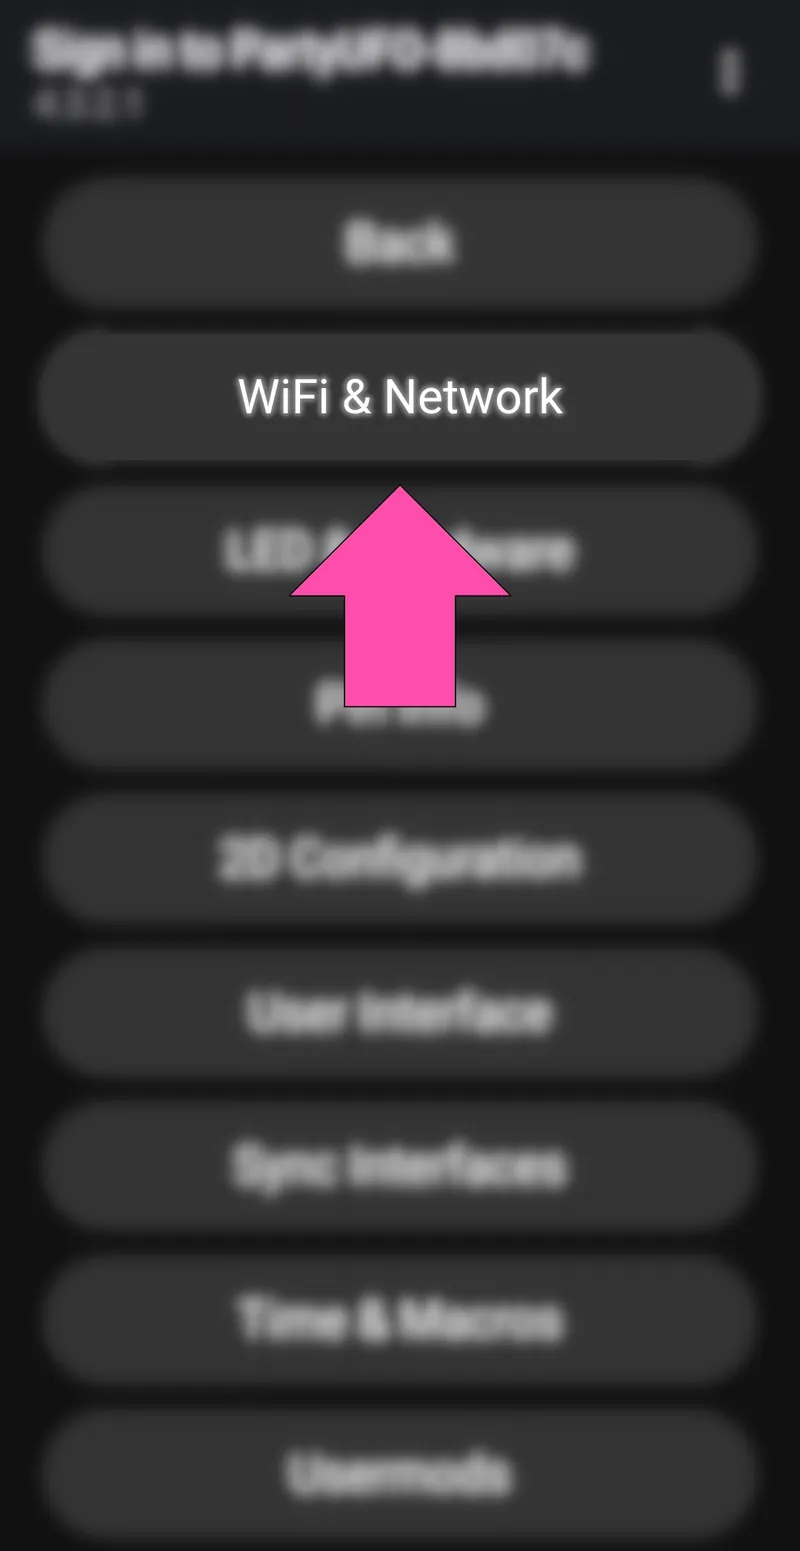
To add a new remote, press any button on it so it becomes visible to your UFO. You can edit the active remotes under Config → WiFi & Network → ESP-NOW Wireless as shown in the photos below.
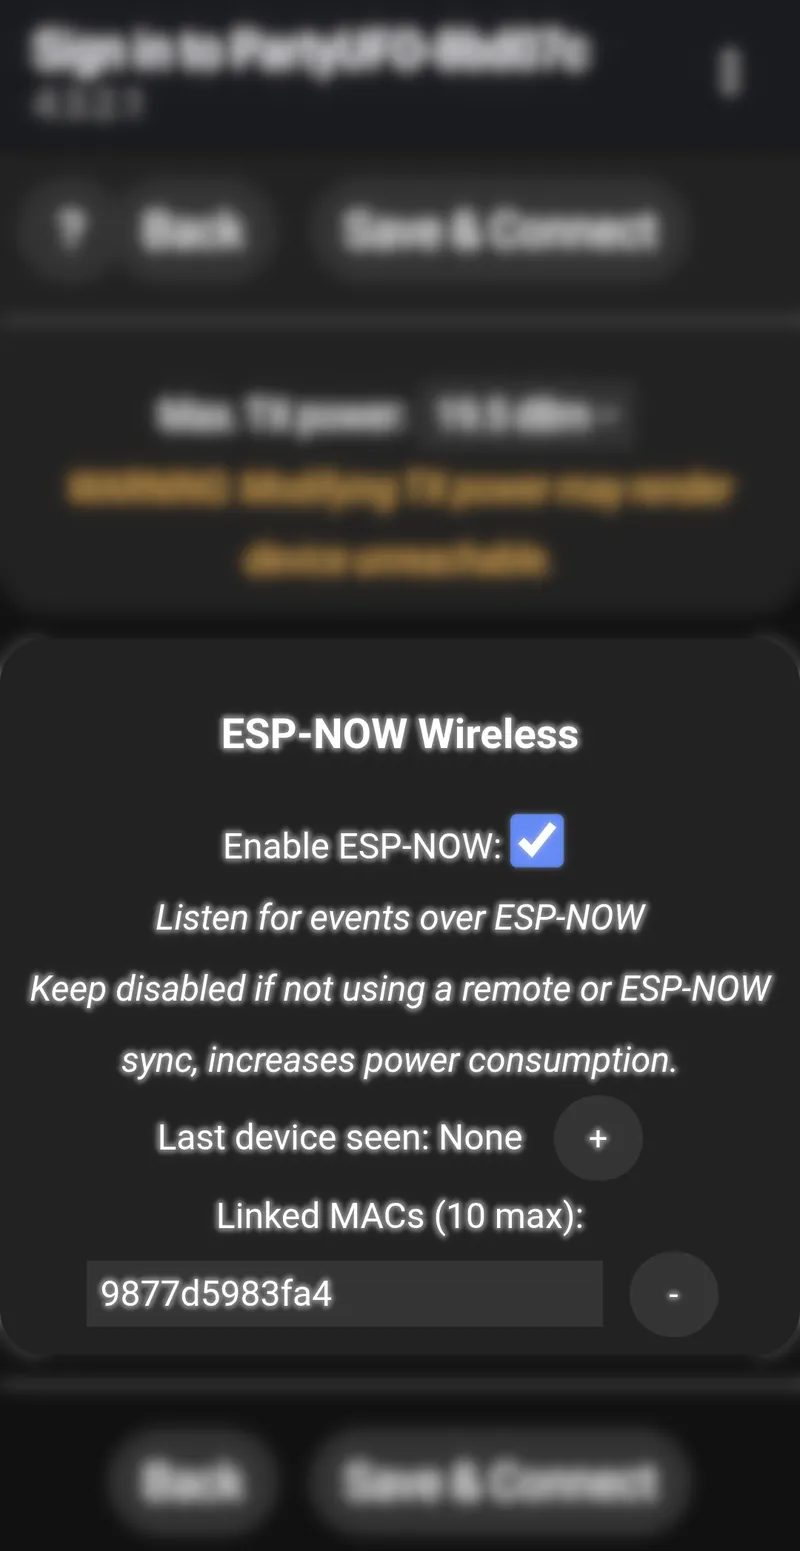
The remote should now appear under Last device seen as a 12-character MAC address. Tap the plus (+) to add the device, and the minus (−) if you want to delete a device. Tap Save & Connect when you are done.
Sync multiple Party UFOs
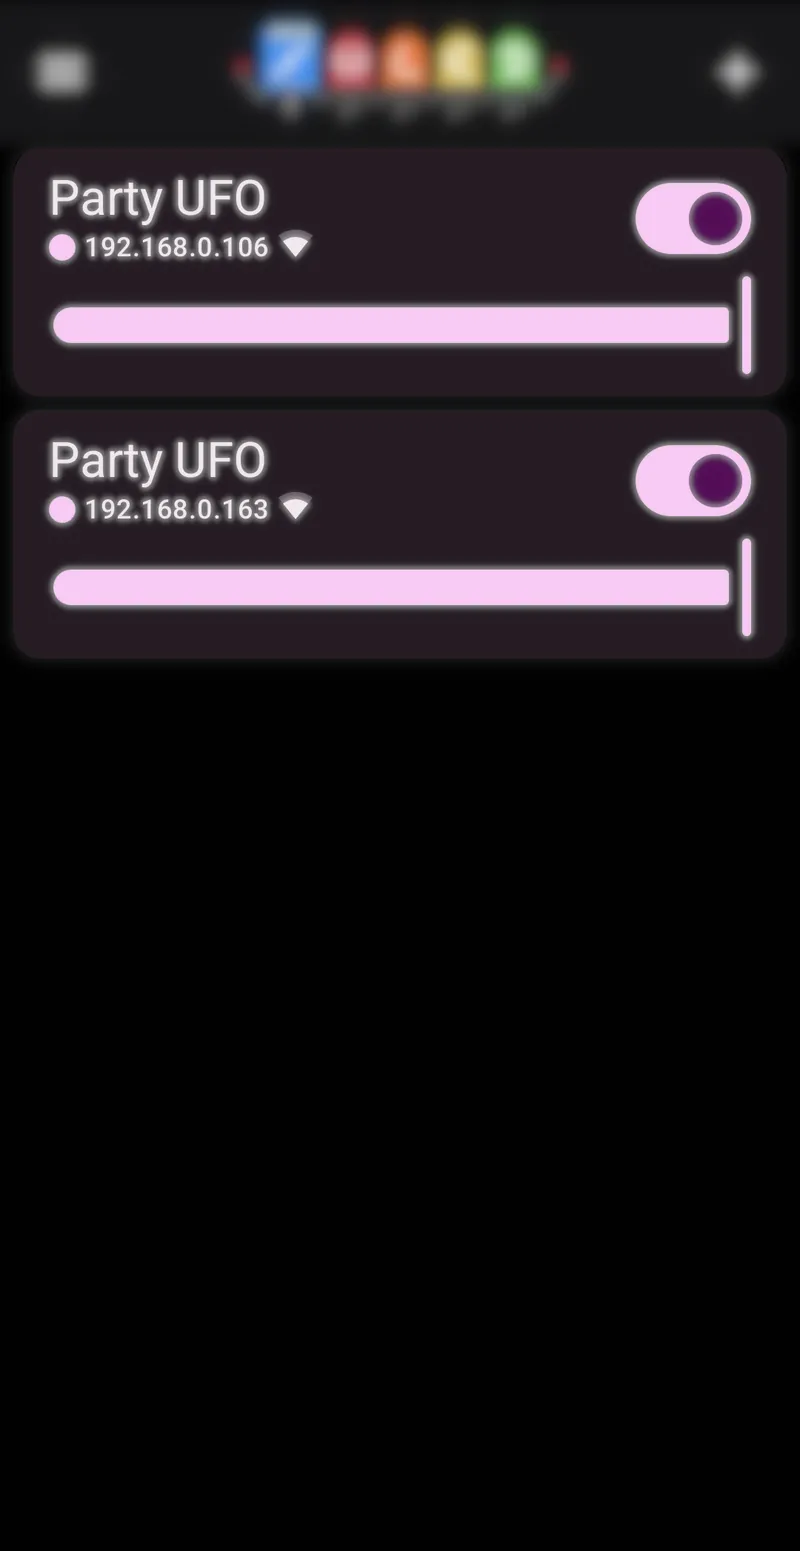
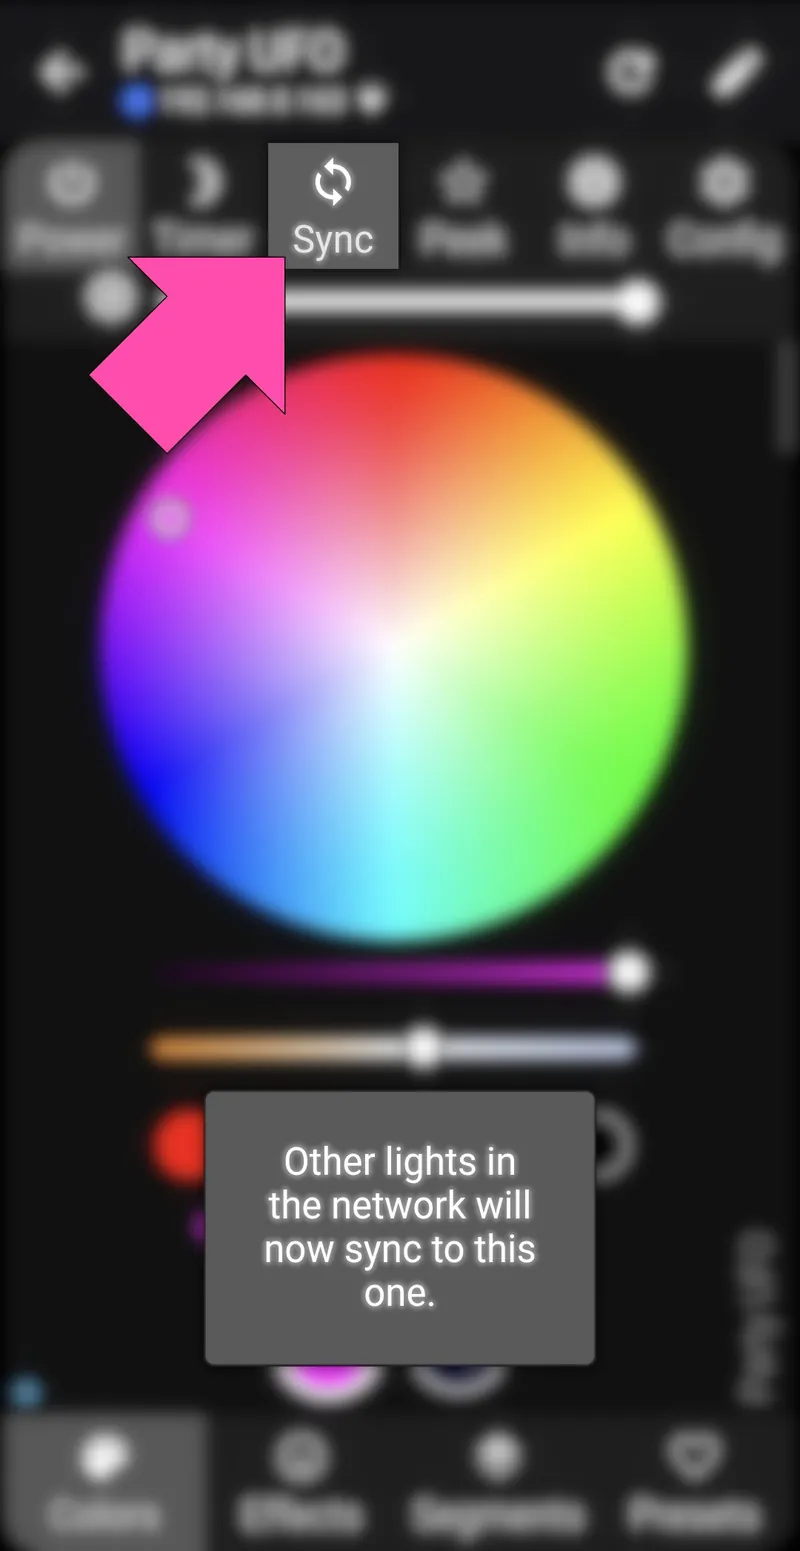
If you want to sync several UFOs, you need to pick one leader and one or more followers. Make sure all your UFOs are on the same 2.4 GHz network. Open the app and select the UFO that should be the leader (photo 1). Tap Sync as shown in photo 2 below. All other devices on the same network will now sync to this device automatically. You may want to rename the device to "leader" to keep things simple. After that you can use the remote for your leader UFO to control all of your follower UFOs.